
Pipe Bender Tool Tutorial
The tube and pipe bender is a quick-connect hydraulic tool that expands the capabilities of the Ironworker. It is designed for medium to heavy duty material, bends up to 2” (1.D.) Schedule 40 pipe, 2.5” (O.D.) tube and 2” square tube quickly and accurately.
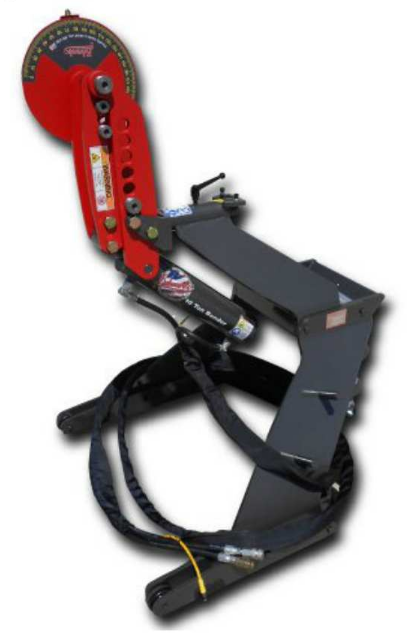
Pipe Bending
To bend pipe on the pipe bender you need to have the proper dies for the size pipe you want to bend. We currently have pipe dies for you to choose from.
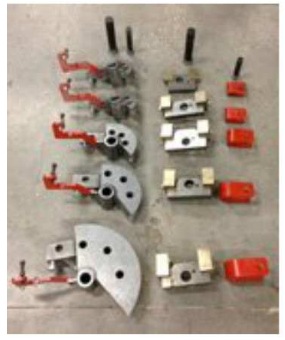
Connecting the Pipe Bender
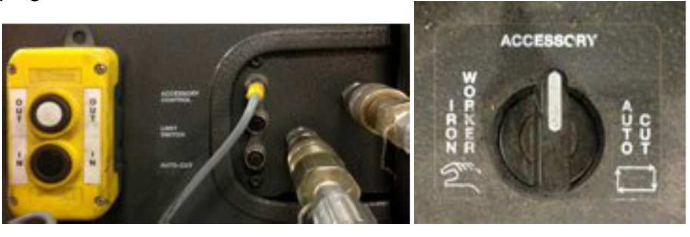
Once you have rolled the pipe bender near the Ironworker you have to connect it to the Ironworker. There are three cables bundled together and then the remote. The male and female hydraulic connections go to their opposites and the remote cable goes in the top plug labeled accessory control. The yellow cable operates the limit switch you can set where you want your bend to stop, it plugs into the plug labeled limit switch.
Setting up the Pipe Bender
After connecting the pipe bender to the Ironworker, it’s time to set up your bend. First, you need to find the right size die for your pipe.
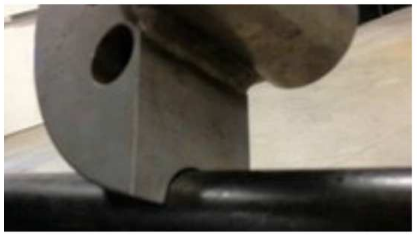
Second, you need to decide if you are bending horizontally or vertically. There needs to be enough clearance around the bender for your material to move during the bend without hitting anything.
NOTE: If you have a long pipe you are bending there is more room for the end of the pipe if you bend it vertically towards the sky. Smaller length pipe that will not contact with the things sitting around the bender can be done horizontally.
Once you have chosen the correct size die for your pipe, start by putting the die on the bender with the large pin going through the arms of the bender and the center of your die.
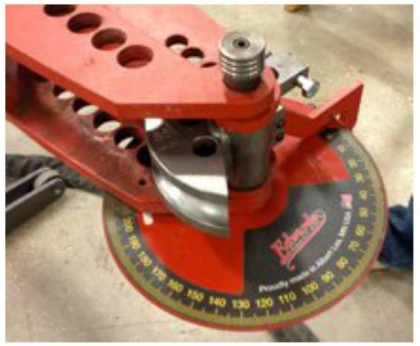
Next, take your backstop that matches the die and install it on the non-moving arm of the bender with another pin. Make sure that the screw is towards the bottom of the bender.
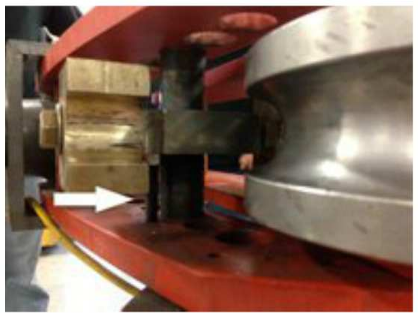
Now you can slide your pipe into the bender between the die and backstop. The collar that holds the pipe goes on next using the short pin.
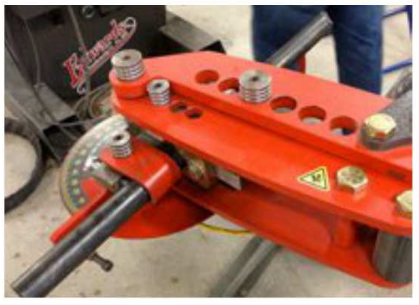
NOTE: If you are making a bend at the end of a piece of pipe you want to make sure that it is even with the end
of the die.
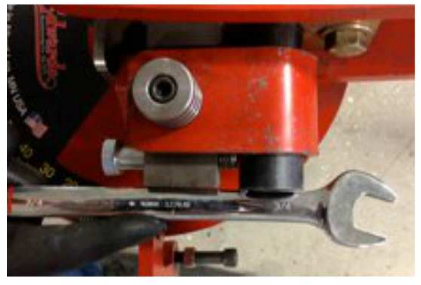
Once the pipe is where you want it in the die, tighten down the set bolt with a 3/4” wrench. Do not over tighten the bolt.
Making a Bend
The pipe bender has an angle finder to locate the degree bend you want to make. To make a 90-degree bend you are going to have to make two 45-degree bends using the step pin on the pipe die.
For your first bend line up the die on the angle finder to 0-degree.
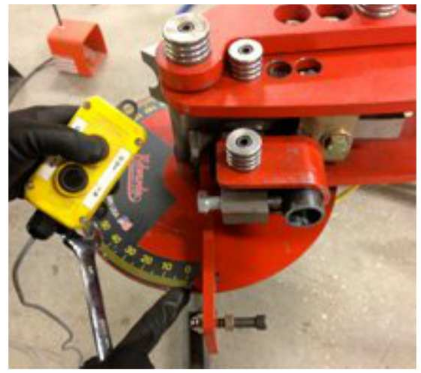
Now press the remote OUT button to start the bend. When you reach the end of the first step, jog the bender back with the IN button to make it easier to remove the step pin. Now adjust the step pin to the next hole in the die to finish the 90-degree bend.
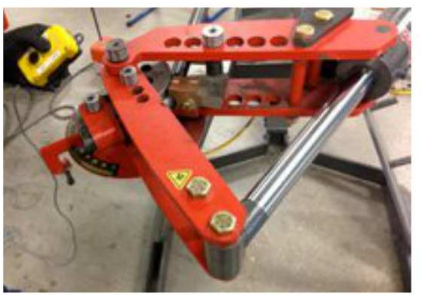
To safely remove your pipe, jog the bender back using the IN button to relieve the pressure on the pipe. Remove the collar, step pin and backstop to remove your pipe.
The dies at Protohaven are for 90-degree bends. To make a 180-degree bend with these dies you must move the pipe forward after the first 90-degrees to ensure that you will not pinch the pipe on the die, which will make it almost impossible to remove the pipe from the bender.
NOTE: The minimum length of pipe to use on the bender is 15”.
No Comments