
Tool Tutorial
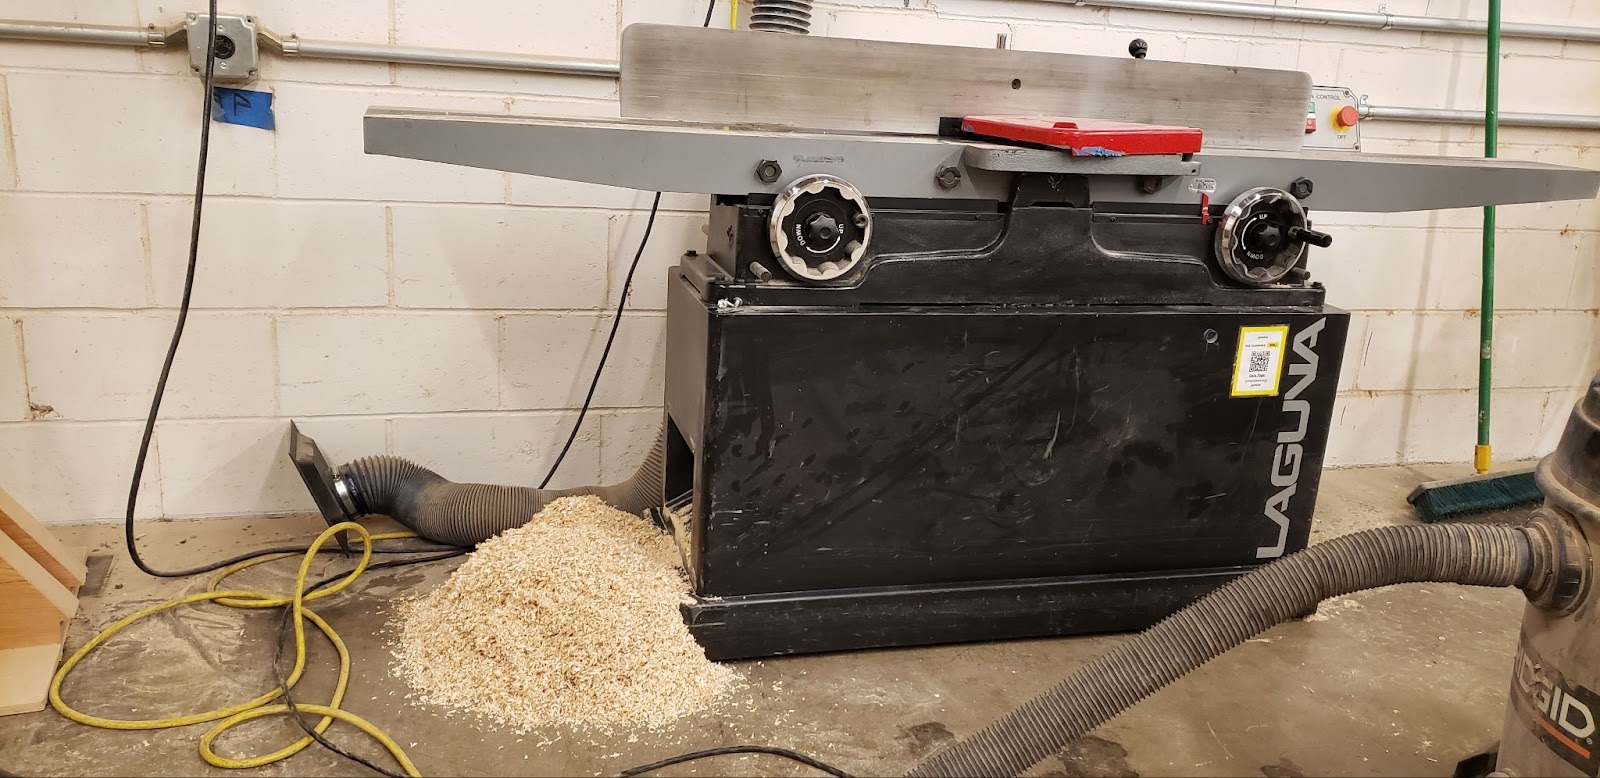
Jointer Overview
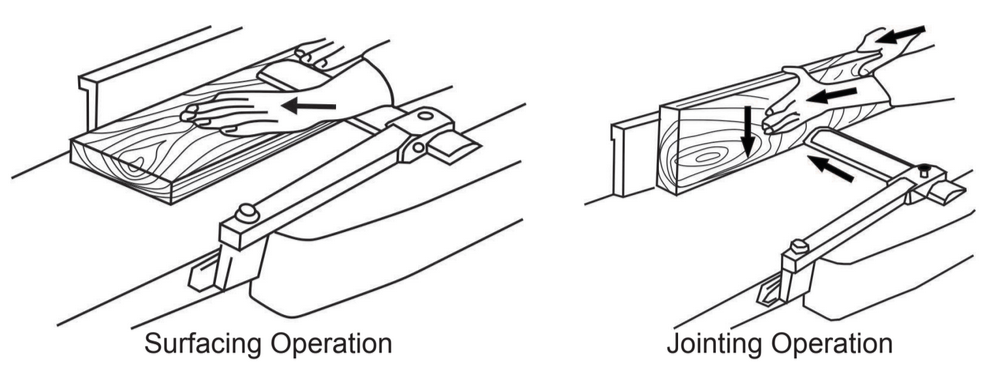
A jointer is used to flatten irregular surfaces on solid wood. The jointer uses a cutting head with carbide cutters to create a perfectly flat and level surface on your board, removing any warping, twisting or cupping. A jointing operation is usually the first operation performed on any board in a fine woodworking project.
Generally, the face of a board is jointed first and then the face is held against the fence to joint the edge. Multiple passes may be needed to ensure a flat surface is machined. By creating two perfectly flat sides that are perpendicular to each other, future cuts, machining operations, and assembly will benefit.
-
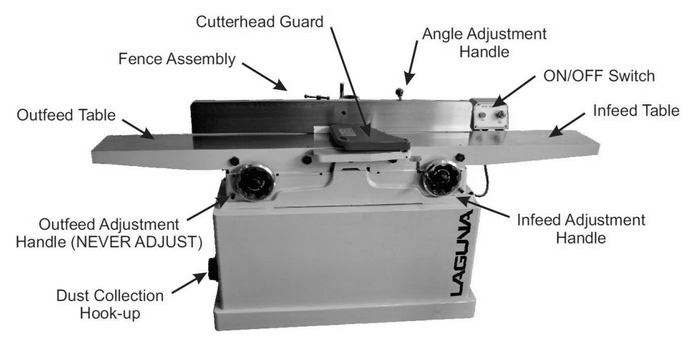
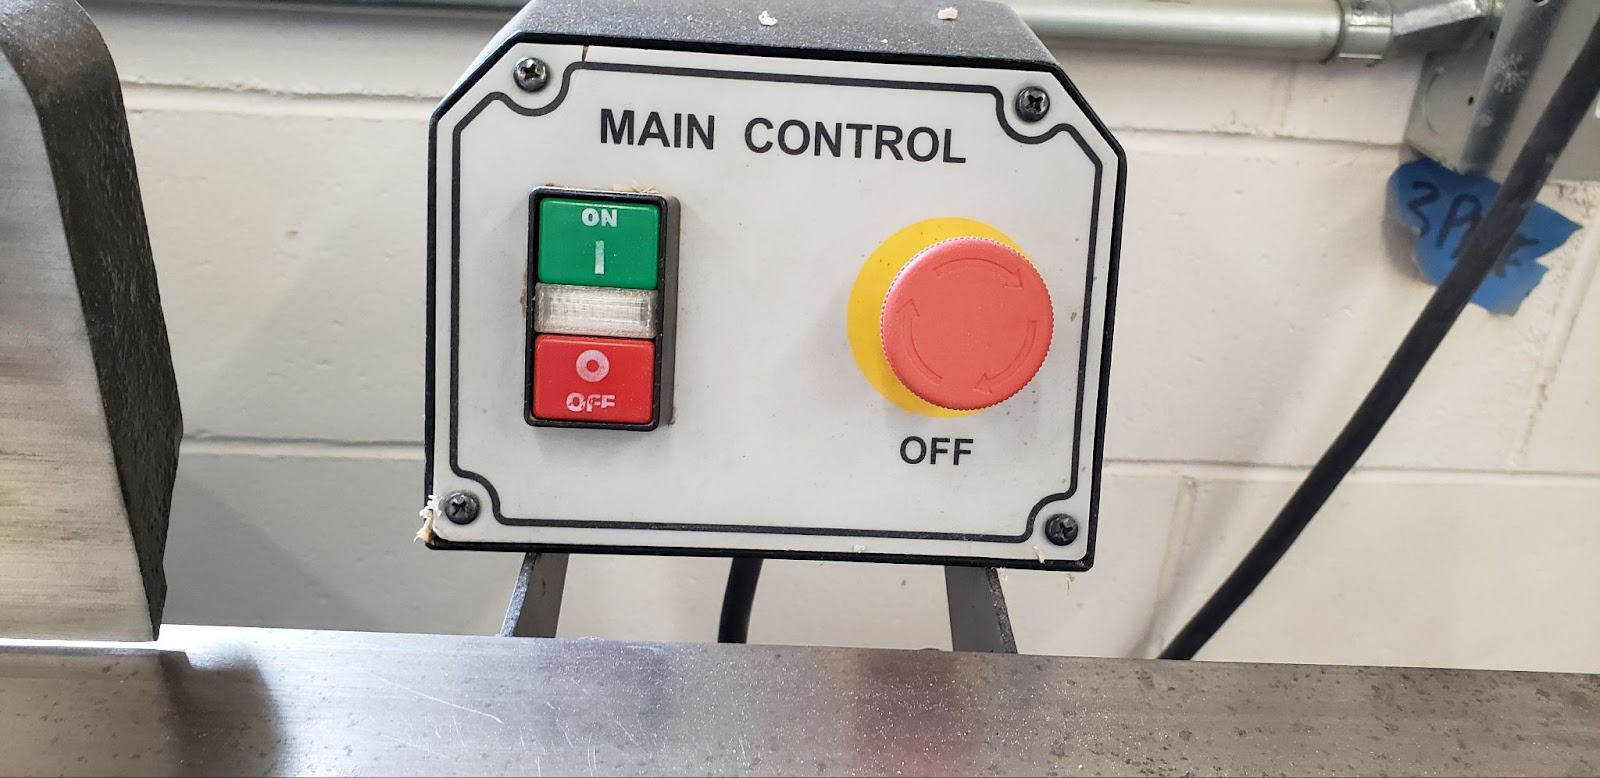
Power Switch - on/off switch
-
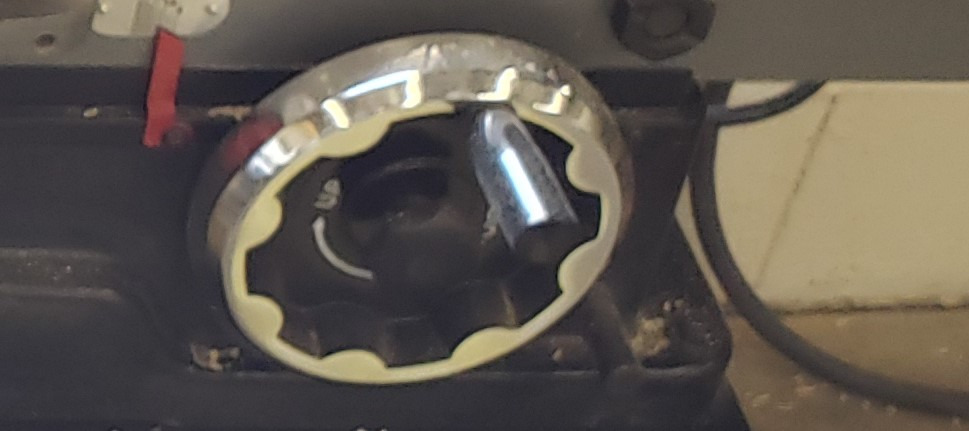
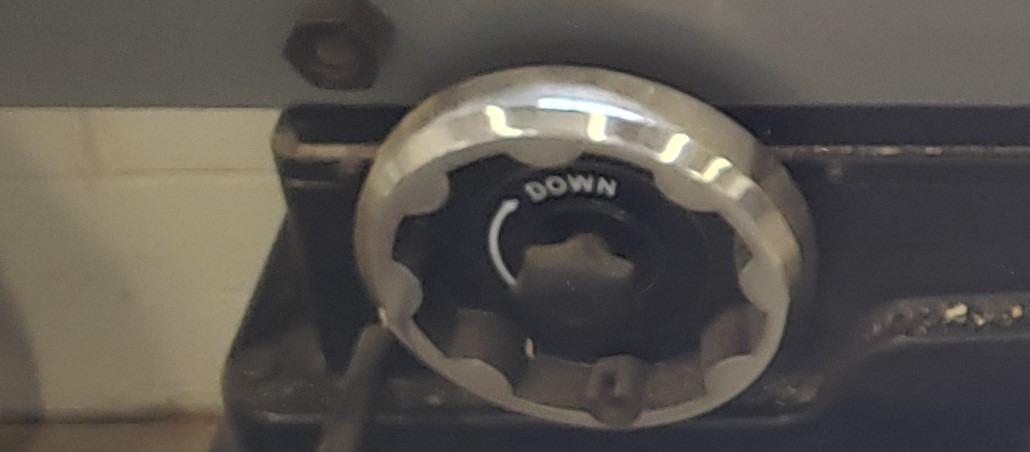
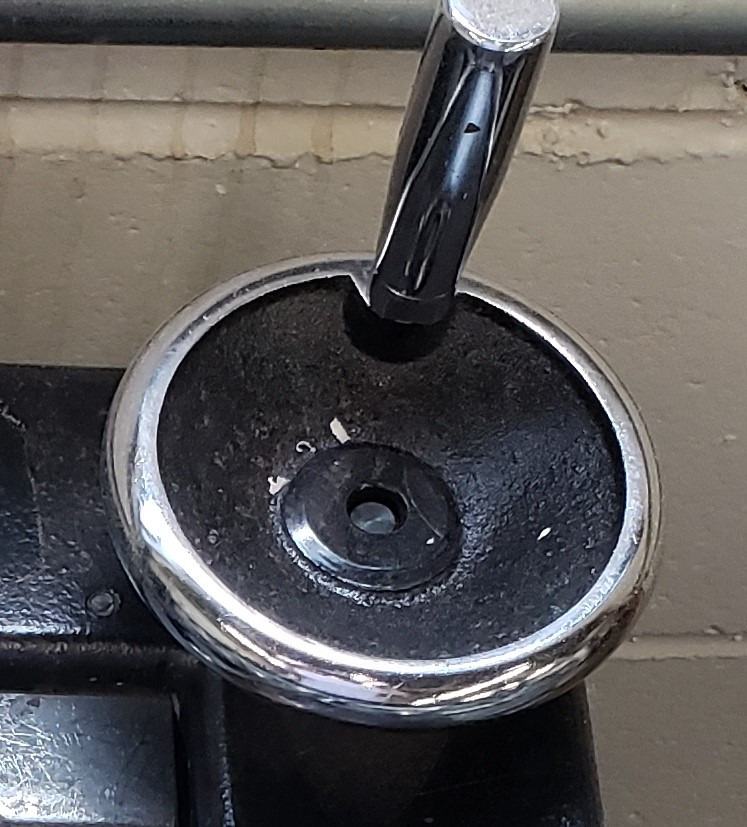
E-Stop - Reserved for emergencies. To deactivate and reset, you must twist the spring-loaded knob.
-
Maintenance Tag - Manually tracks the usability status with Green/Yellow/Red cards
-
Infeed Table - Cut begins on the right side
-
Outfeed Table - Cut ends on the left side
-
Cutter head - Stock’s bottom is removed as it passes over the cutter
-
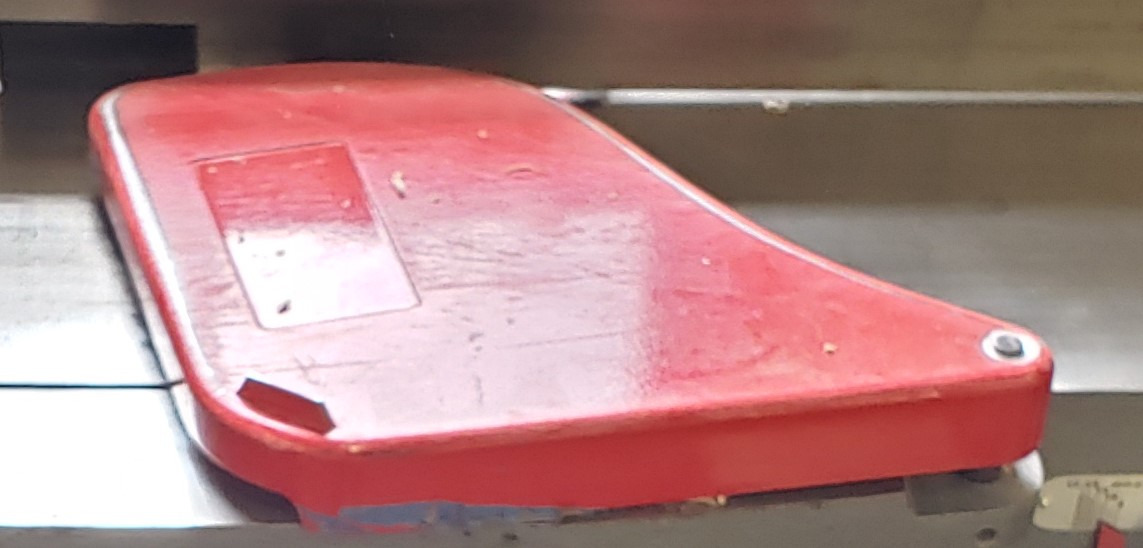
Guard - Covers the cutter when not in use
-
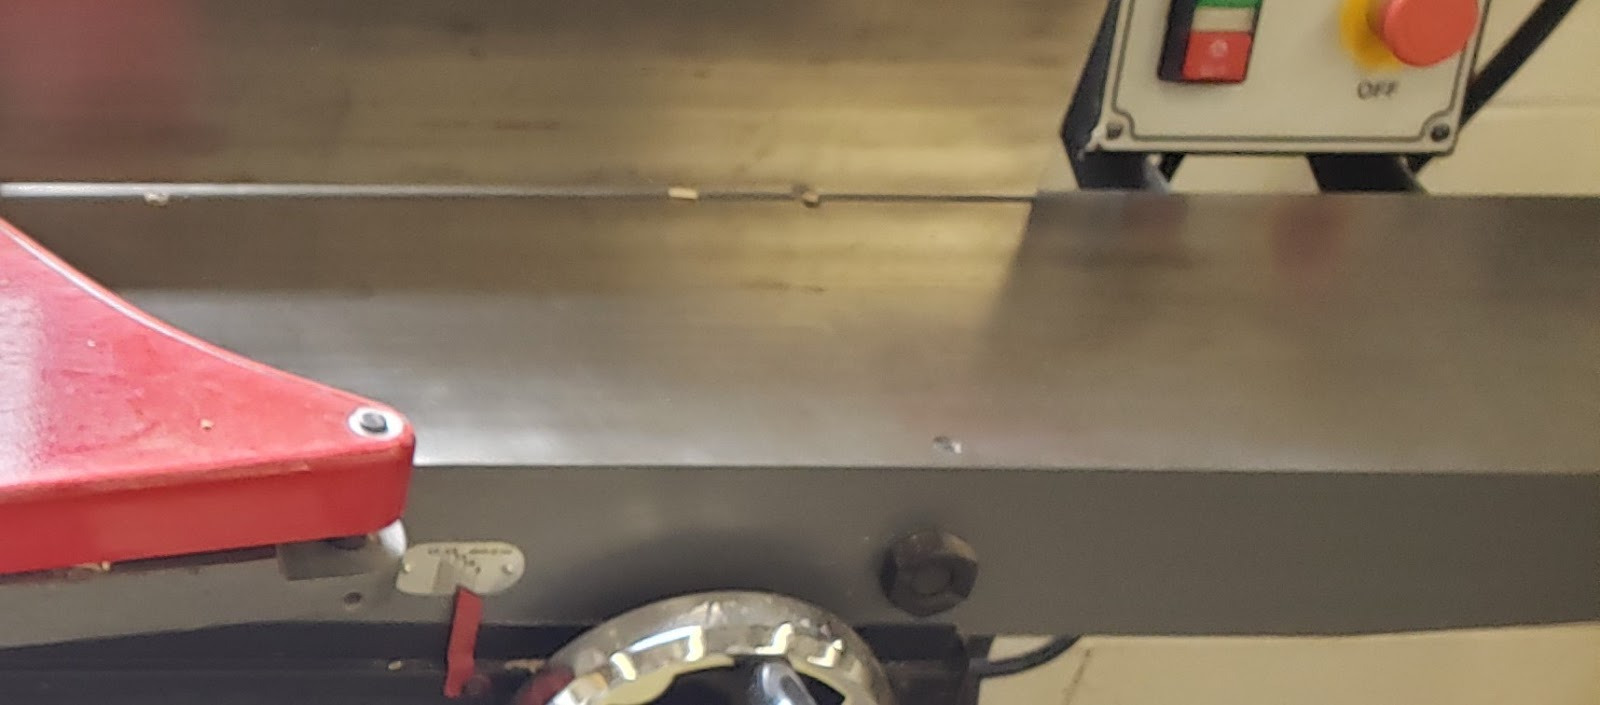
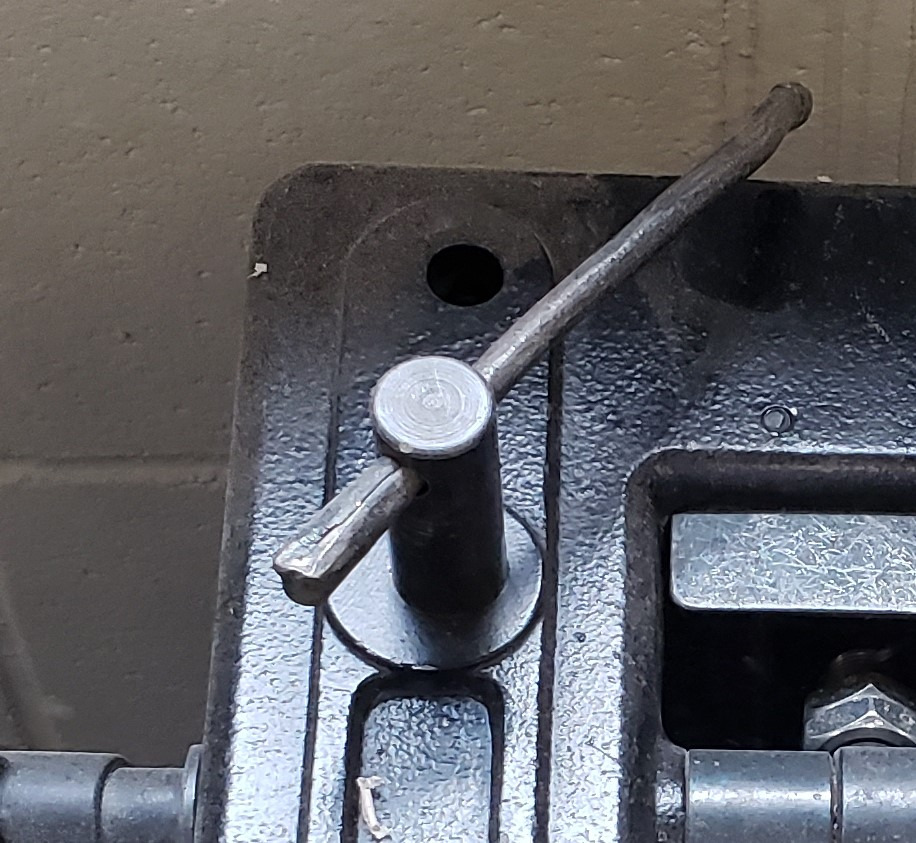
Infeed Height Crank - Adjusts the height of the infeed table (cut depth)
-
Cut depth gauge - Shows approximately how deep of a cut will be made

-
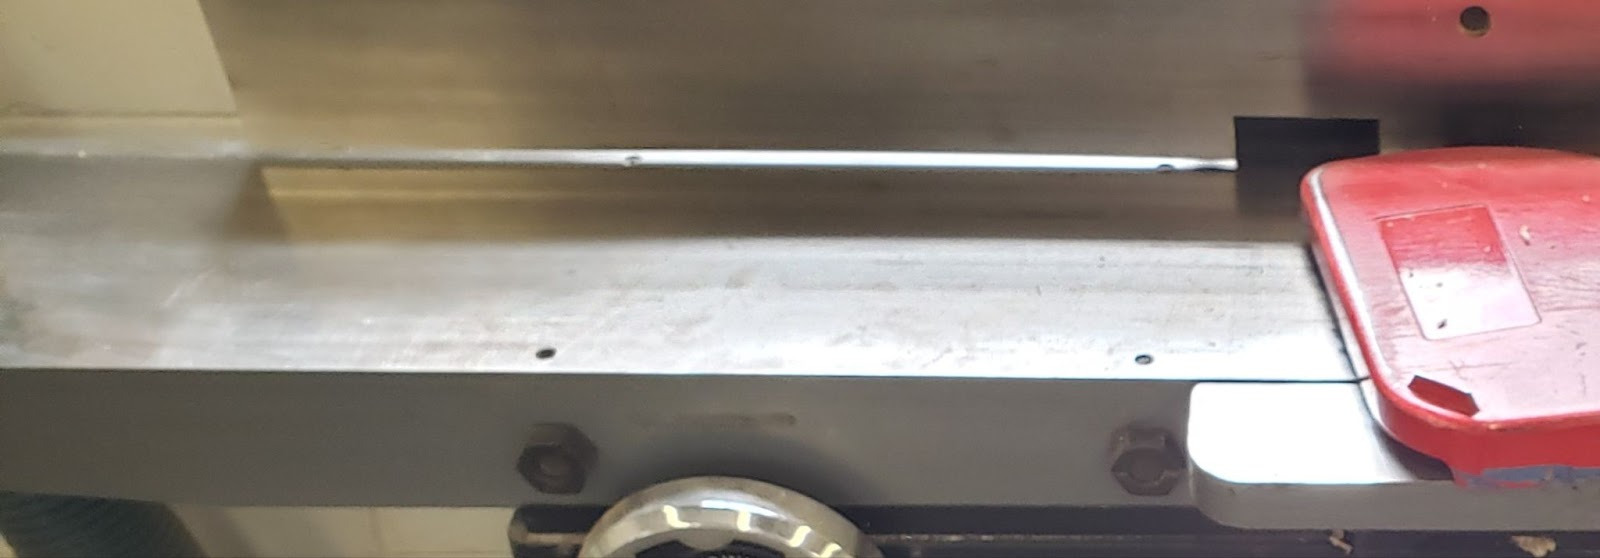
Outfeed Height Crank - Adjusts the height of the outfeed table (must match cutter head height at all times.)
-
Fence - Holds the stock at a specific angle when cutting the second face

-
Fence Lock - Locks the fence at a specific horizontal location
-
Fence Crank - Moves the fence horizontally when unlocked
-
Fence Tilt Lock - Locks the fence at a specific angle

-
Fence Tilt Handle - Assists in moving the fence angle
-
Fence 90 degree stop - Assists in maintaining a repeatable 90 degree angle
Jointer-Specific Safety
As of 2026, the jointer is the tool that has received the most injury reports where blood has been drawn. Please pay extra attention to the specific safety instructions below.
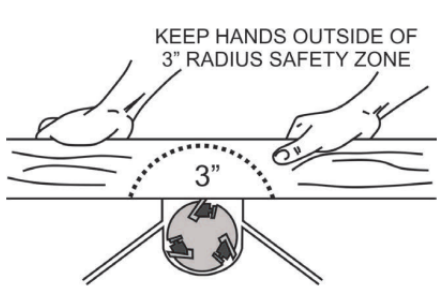
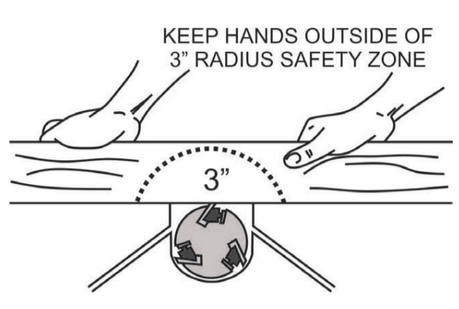
- Even though the jointer blade has a guard to cover the
exposed cutting head, care should be taken to keep
hands, hair and clothing away from the cutting head.
Maintain 3” safety margin around the cutting head at
all times
- Never apply downward pressure to the board directly over the cutting head
- Position your hands away from the very end of the board and practice pushing material through in a smooth motion
- Maintain a balanced stance at all times to avoid falling into the machine should the board slip
- Do not overreach or use excessive force to perform any operations
- Use pushing devices, such as push sticks or blocks, to keep hands clear of the cutting head
- Solid wood is the only material allowed on the jointer. Plywood, MDF, plastics and metals are not allowed. Consult a shop tech for advice when jointing exceptionally dense hardwoods
- Use good quality wood on the jointer. Avoid wood with loose knots, splits, nails, screws, paint or other foreign objects in or on it
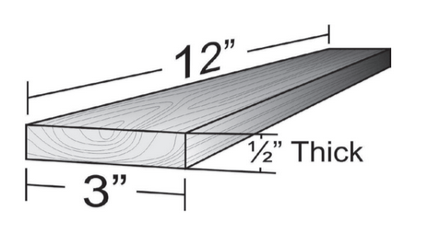
- Wood should be more than 3” wide, 1/2” thick, and 12” long for use on the jointer
- Never back a board out of the jointer. If the board becomes stuck, stop the machine before trying to remove it
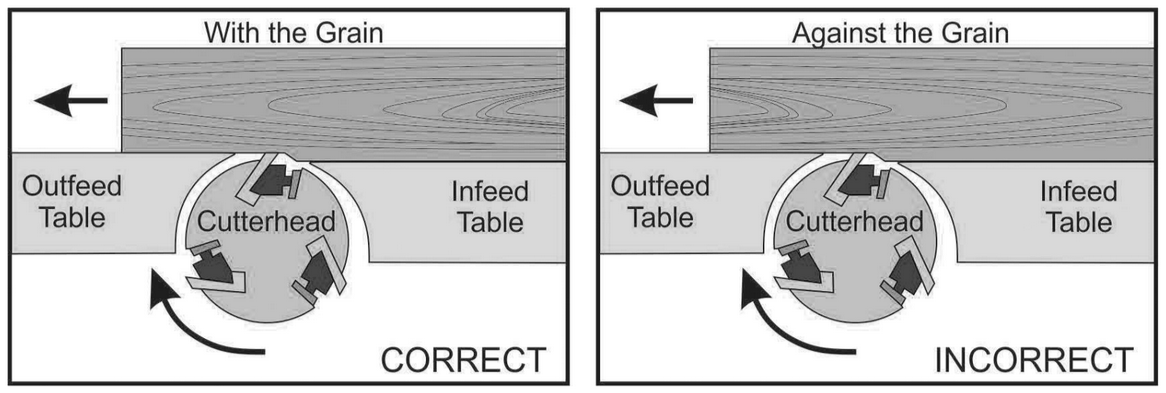
- Joint in the same direction that the grain runs along the board to avoid kickbacks and poor surface finish. Consult a shop tech if cutting across the grain is necessary
- It’s easier on both machine and operator to make several small passes instead of one very large pass
- Check the cutting depth before beginning any work and set the cutting depth back to 1/16” when finished
- The cutting head takes a long time to spin down. Do not leave the machine or change any settings until it has come to a complete stop
Prohibited Materials
Never use composite materials (plywood, chip-board, MDF, etc.). These materials can quickly splinter and throw debris when they come in contact with the cutting head. They will also cause premature wear on the cutters, especially plywood with it’s alternating end-grain.
Reclaimed wood often has embedded nails or screws which can damage the blade, cause the workpiece to kick, and can scratch the table. All reclaimed wood should be checked with the hand-held metal detector before being jointed.
Reclaimed materials may be painted with lead paints. Lead paints are prohibited in the shop as the dust created is toxic.
Jointer Adjustments
Adjusting the Infeed Table Height
The height of the infeed table determines the thickness of the cut and the amount of material removed from your board. Depending on the width, density, and desired finish of your board, you may set the infeed table height higher or lower. A good starting point is 1/16” passes. Consult a shop tech for advice if things aren’t working out as you expect.
- Turn the lock knob counter clockwise to unlock the height adjustment.
- Flip the height adjustment handle out and rotate the height adjustment to your desired cut thickness.
- Flip the height adjustment handle back in and lock the height adjustment by turning the lock knob clockwise until it is snug.

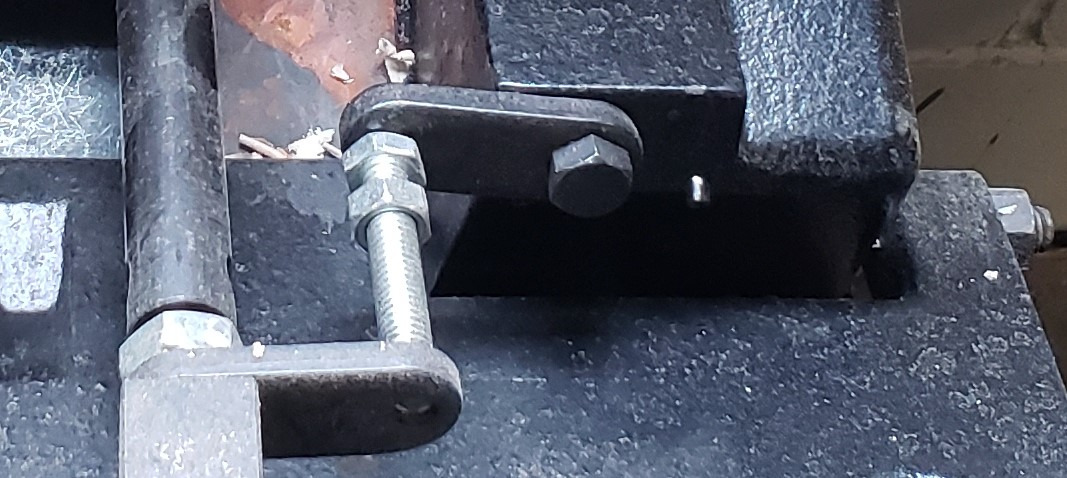
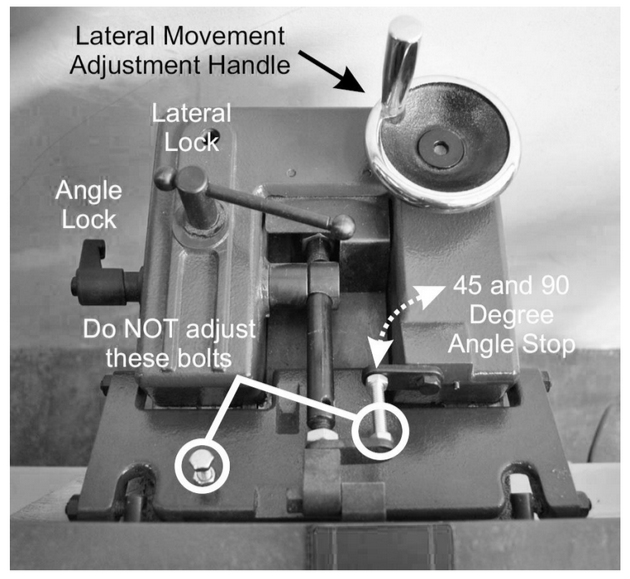
Adjusting the Jointer Fence
The jointer fence serves many purposes. Its main purpose is to hold your board perpendicular to the cutting head and tables. The angle can be changed to put a specific angle along the edge of a board and it can be moved across the machine to move the location of your board relative to the cutting head to help even the wear out along the teeth. Users can adjust the fence angle between 45 and 90 degrees. Consult a shop tech adjust the fence to angles less than 45 degrees. It’s good practice to check the fence angle before machining any boards.
Adjust the Fence Angle
- Loosen the angle lock and flip the angle stop out of the way.
- Use an angle gauge to set the fence to the desired angle.
- Tighten the angle lock and double check the fence angle with the angle gauge.
Adjust the Fence Position
- Loosen the lateral lock.
- Turn the lateral crank handle until the fence is at the desired position.
- Tighten the lateral lock.
Basic Operation
Check the dust chute first! The chute that the chips slide down to get to the dust collection port often gets clogged during normal use. Disconnect the dust boot from the right side of the machine and clear any chips that may have accumulated on the ramp. It may be necessary to use a stick to dislodge impacted chips from the top of the ramp.
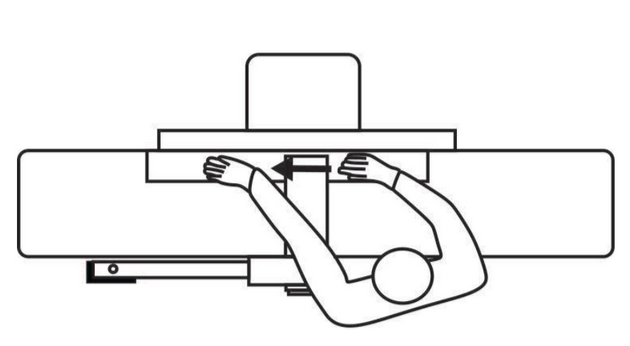
- Stand along side the machine, opposite the fence. This position allows you to reach both the infeed and outfeed tables and keeps you safe from any kickbacks.

- Turn the jointer on and let the cutting head get up to full speed.
- Hold the board firmly against the infeed table and fence, a few inches away from the blade guard.
- Hold the board to the infeed table with your left hand and feed it slowly and smoothly into the cutting head with your right hand.

- Once there is about 6” of board on the outfeed table, move your left hand to hold the board firmly to the outfeed table and against the fence.
- Continue feeding the board through the cutting head with your right hand, and keeping pressure on the outfeed side with your left. Try to keep the downward pressure on your board near the cutting head on the outfeed table.
- When your right hand is near the cutting head, move to the outfeed table and pull the board the rest of the way through the jointer.
- Continue making passes until the face is flat. Make a light pencil mark across the surface of your board as a visual reference. When the mark disappears fully, you’ll know the face is flat.
Tips and Tricks
Perform a surfacing operation first, then hold the freshly machined surface to the fence and perform a jointing operation.
Grain direction may cause issues with feeding the board and surface finish. Machine with the grain of the board for a smooth surface and minimal chance of kickbacks.
Place the cupped or crooked side down on the jointer for the easiest side to machine flat.

No Comments