
Filling and Draining the Plasma Table
Filling and Draining the Plasma Table
The plasma table is made from aluminum and has steel slats that the material to be cut material rests on. Primarily, steel is the most common material that is cut. When steel and aluminum are in contact, a galvanic reaction occurs and aluminum is usually the loser in that reaction. We have begun running an additive in the table that will slow this reaction but in the name of belt and suspenders, we are draining the water from the table. This will not stop the reaction completely but should considerably slow it.
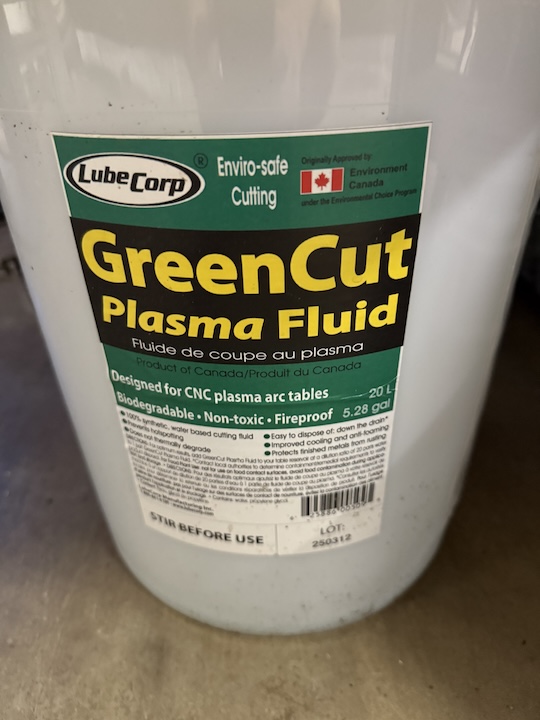
The additive we are running is Green Cut Plasma Fluid at a 20:1 ratio. This may leave a film on plasma cut parts.
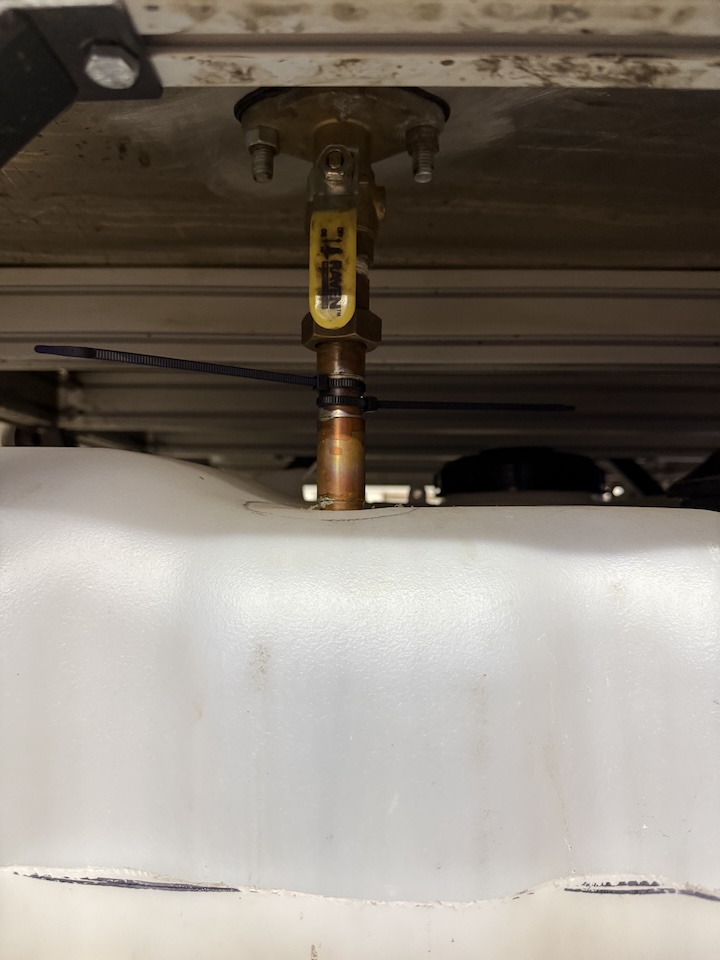
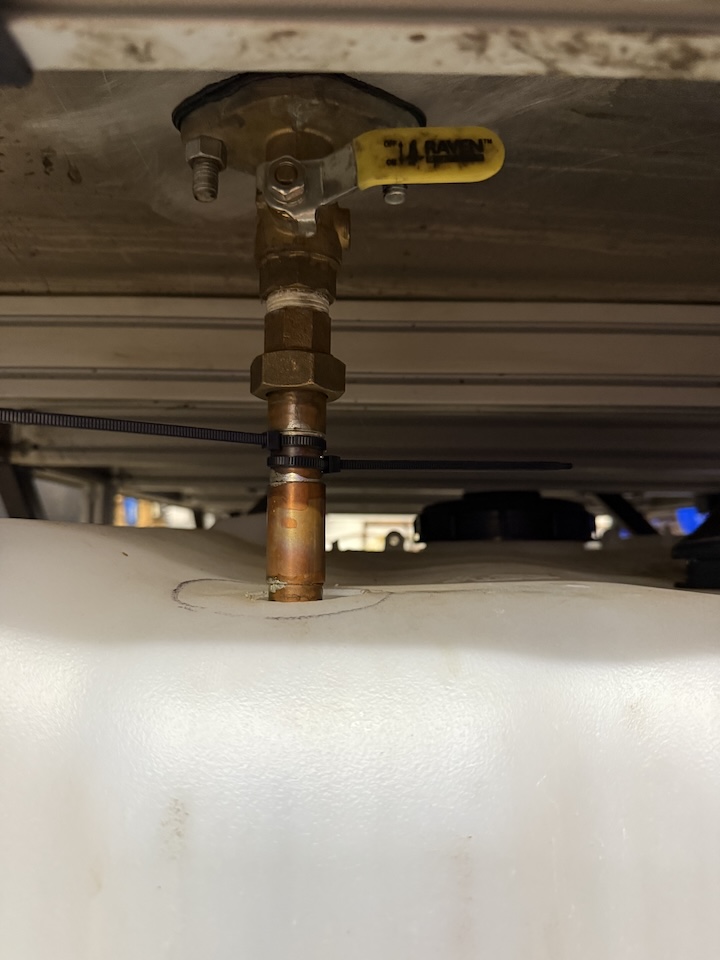
When you first approach the table, it will be drained into the lower holding tank and the drain valve will be open (vertical position). Move the valve to the horizontal position to close it. The valve can be found by looking under the table, at the front.
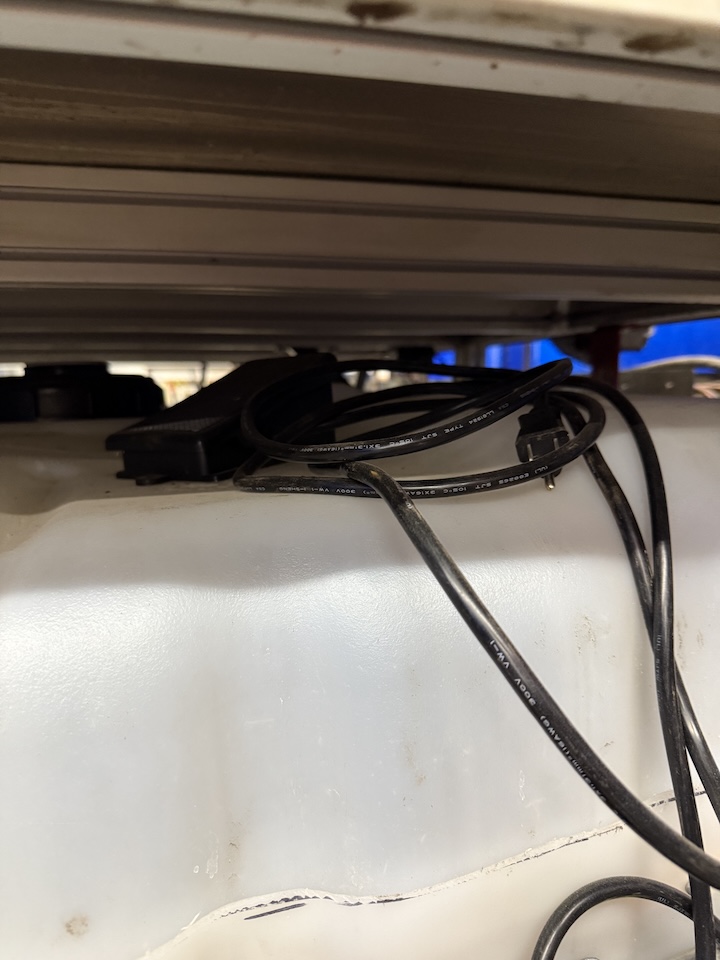
Next, locate the foot switch for the pump. It should be stored on top of the tank. At the front, on the right. Plug the foot switch onto the an outlet under the computer. Depressing the pedal once and releasing will activate the pump. Pressing and releasing a second time will turn the pump off.
The fluid will come out of the rear outlet and fill the table in about 6 minutes. Use this time to prepare your files for plasma cutting.
Allow the table to fill till the slats at the front are about 1/8" from being submerged. Then switch the pump off, unplug the switch and put it away. There is an overflow fitting at the rear of the table, it should be impossible to overfill the table but please refrain from testing this too much.
When done plasma cutting, move the drain valve to the vertical positionopen to drain the table, allowing the water back into the tank. Please clean up any large debris that is left from your use of the machine.
Maintenance notes:
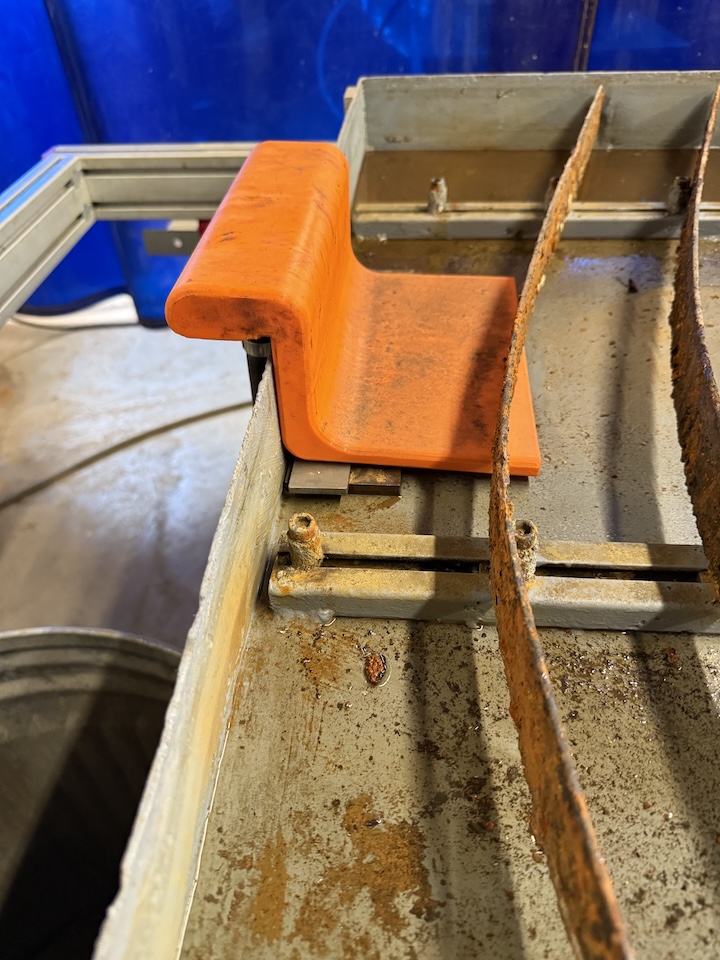
The orange fittings are 3d printed and the 3d print files are here:
The Water supply is best printed on its side. It also needs to rest on the couple pieces of metal, because it will wick fluid up behind it and onto the floor. If a replacement needs to be made, feel free to experiment with redesigning to prevent wicking. I suggest opening up the tolerances where it slips over the table.
https://wiki.protohaven.org/attachments/303
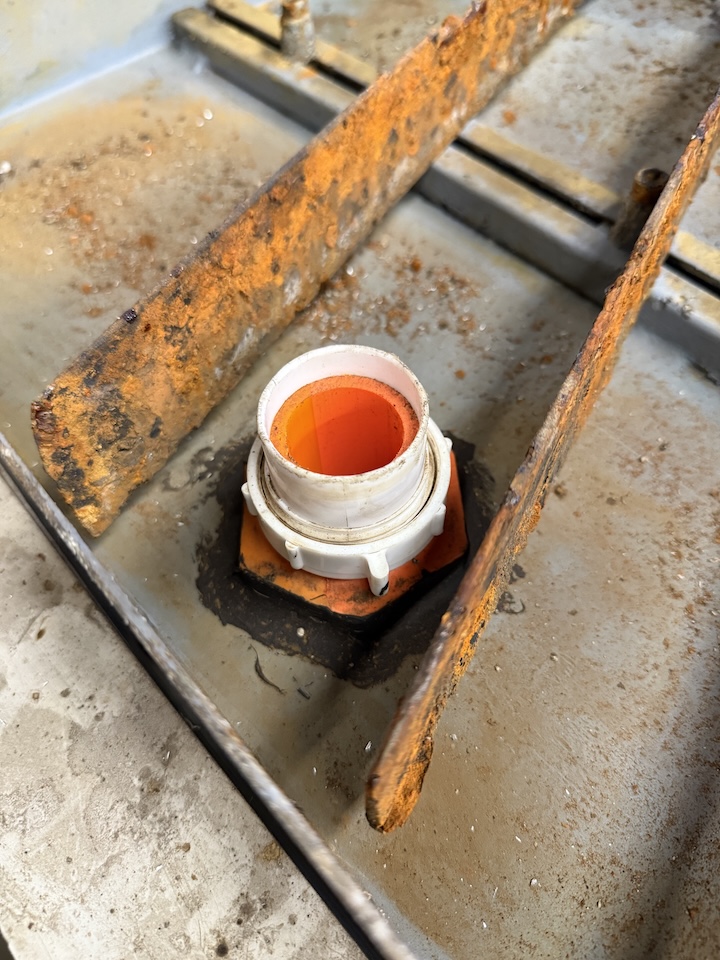
The bulkhead fitting is printed with reverse threads to counteract the rotation of the earth and moon..... (joking). Just be aware when trying to assemble and disassemble. The washer is printed from TPU, a sealant should be used to get a better seal of these parts.
https://wiki.protohaven.org/attachments/304
The white fitting on the bulkhead fitting is a 1.5" sink tail piece extension that is cut to length, this was done as a consumable that is inexpensive and easy to replace in the event of damage.
Green Cut Plasma Fluid:
This is mixed at a 20:1 ratio and is checked via PH. The reoccurring CNC Plasma 14 Maintenance covers the check. Typically the water is consumed and needs to be replenished.
A refractometer may be a good future purchase to check the exact concentration levels.
A filter system is suggested by the Green Cut Plasma Fluid company. We are currently not filtering out fluid beyond letting it settle out in the tank.
No Comments