
Resaw Bandsaw Tool Tutorial
The Setup, Operation, and Cleanup Checklists of this guide are what instructors use to ensure that you can use the equipment according to community expectations.
The resaw bandsaw is used to quickly and roughly resize lumber. It’s large tooth size and large opening between the drive wheels lets it cut through much thicker wood than would be possible on the table saw. Unlike the smaller bandsaw in the general woodworking area, the resaw bandsaw’s thicker blade is limited to straight cuts.
Usage Highlights
Millwork and Joinery Clearance or Class Equivalent Required Before Use
Personal Protective Equipment
Safety glasses must always be worn. Hearing protection is highly recommended in the workshop, especially when the dust collection fan is active.
Tool Anatomy
MACHINE ANATOMY
-
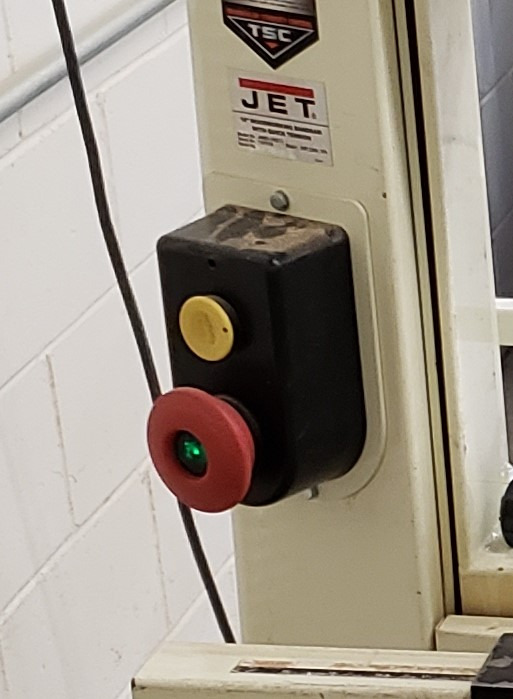
Power Switch - on/off switch. Push the illuminated green button to start the machine, and push the large red ring to stop the motor.
-
Maintenance Tag - Manually tracks the usability status with Green/Yellow/Red cards
-
Guard Doors - The upper and lower doors must be closed when operating the machine. They prevent accidental contact with the blade as well as contain the majority of the blade when the blade brakes or comes off the drive wheels.
-
Table - Precision ground to be flat, your workpiece should always have one flat surface against the table at all times.
-
Throat Plate - Provides a means for replaceable, small-clearance inserts to support the material near the blade.
-
Fence - Provides a means of guiding materials straight past the blade.
-
Resaw Bar - To help combat blade drift, this can be attached to the fence to allow the workpiece to pivot instead of being rigidly aligned to the fence.
-
Blade Guard - The blade guard should cover the portion of the blade between the upper drive wheel and the workpiece. This prevents accidental contact with the blade and also provides an adjustable mounting point for the upper blade guides. The Blade Guard should be adjusted so it sits approximately ⅛” above the top of the workpiece.
-
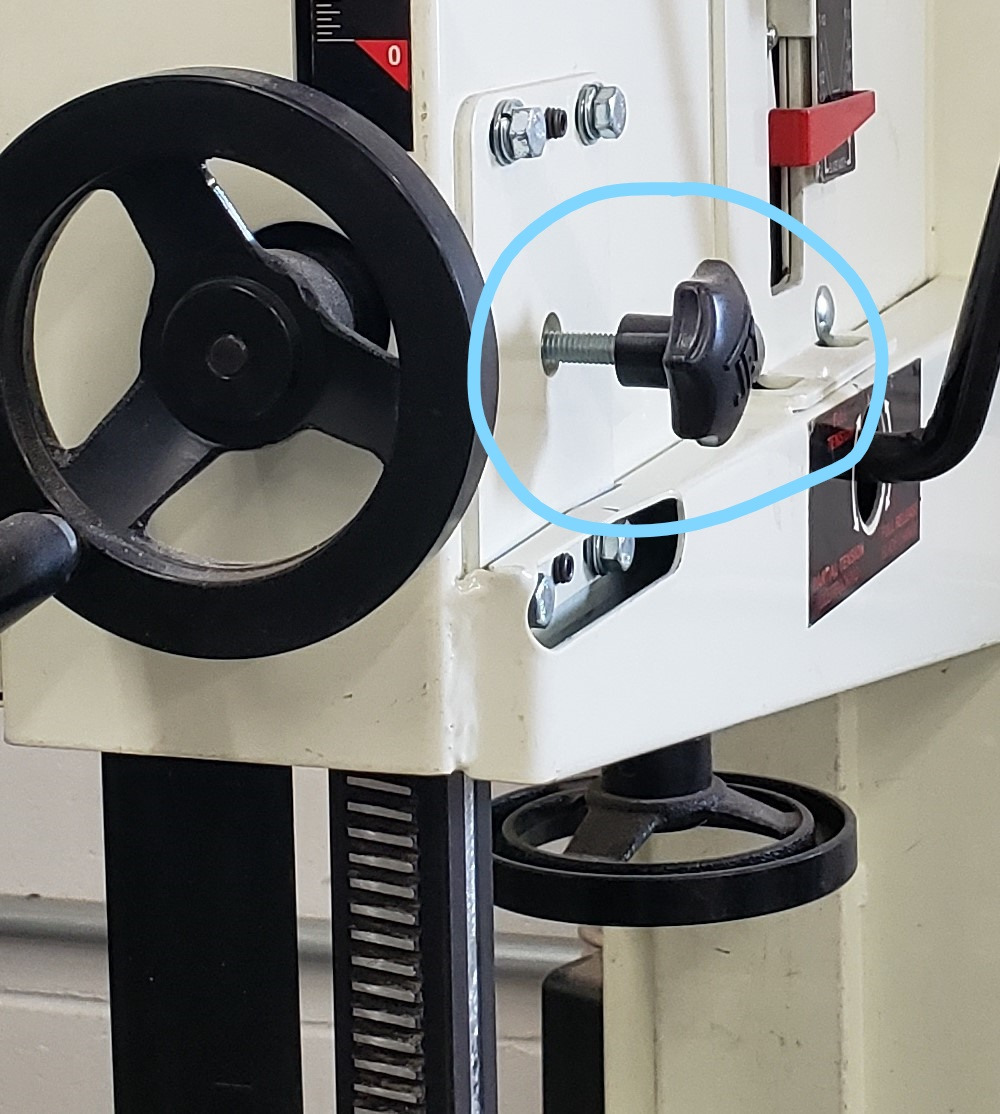
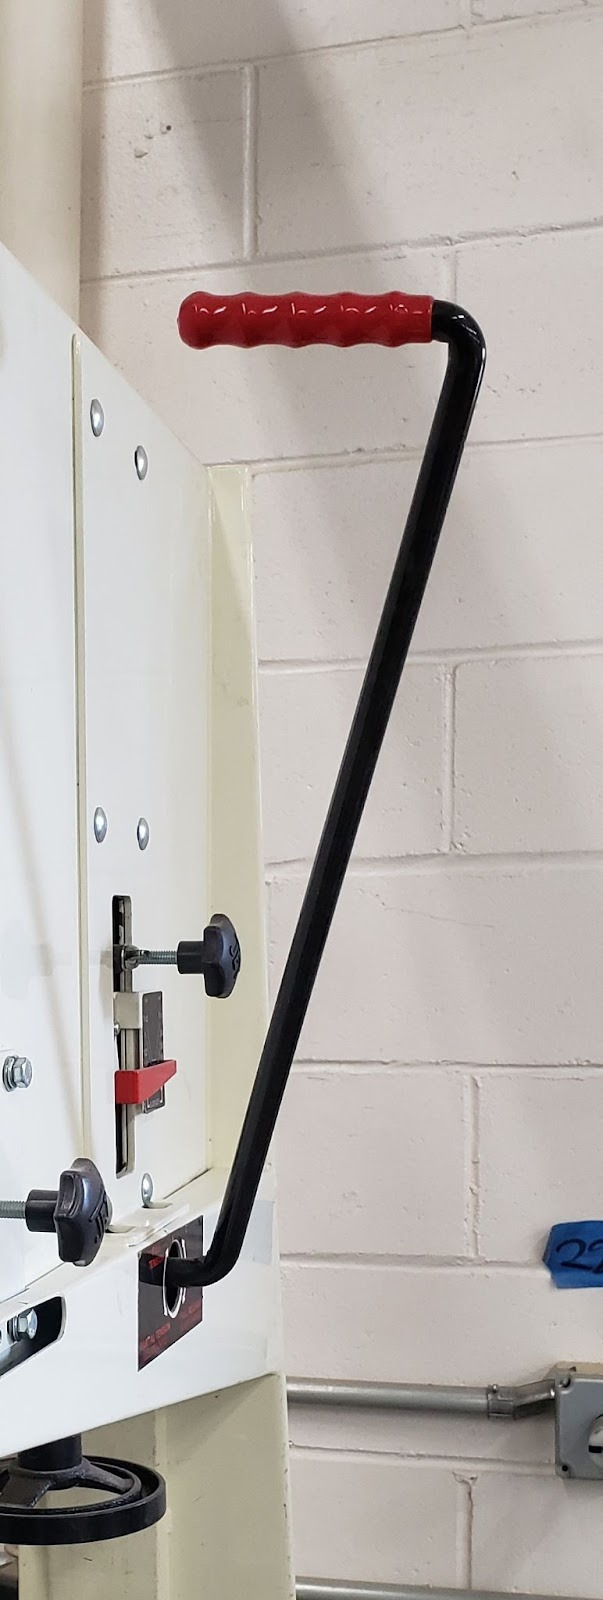
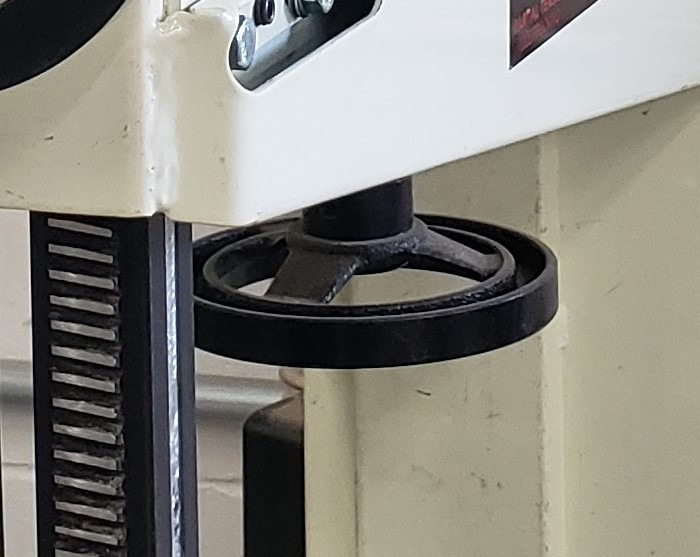
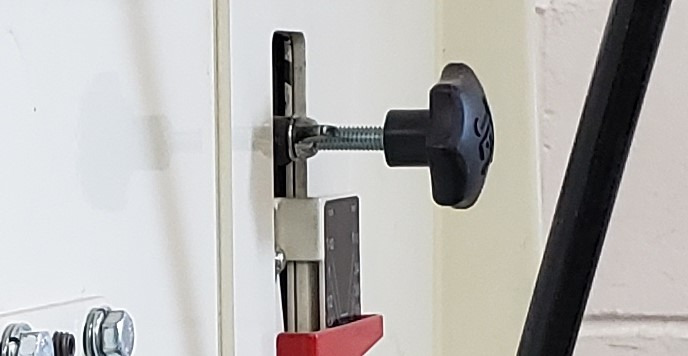
Blade Guard Lock Knob - Before moving the blade guard using the Blade Guard Adjustment Crank, this lock knob must be loosened to allow the Blade Guard to move vertically. Loosen it significantly to allow free movement of the Blade Guard along it’s entire travel. The knob must be locked back in place before cutting or the saw’s vibrations will cause the Blade Guard to work it’s way downward over time, and may pinch against the workpiece in the middle of a cut.
-
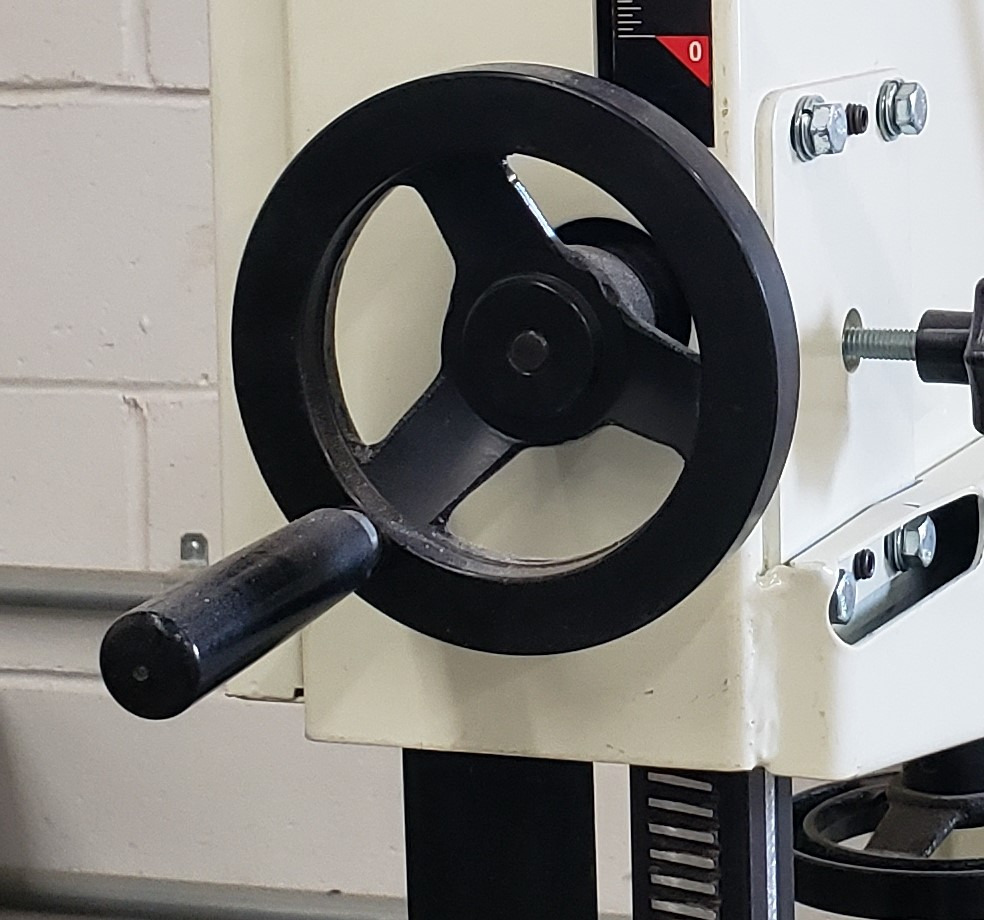
Blade Guard Height Crank - This raises and lowers the blade guard and guide block assembly. The lock knob MUST be loosened before using or the gears will be damaged. When raising the guard a significant distance, the crank may start to become hard to turn. Loosen the lock knob further to allow the mechanism to move smoothly.
-
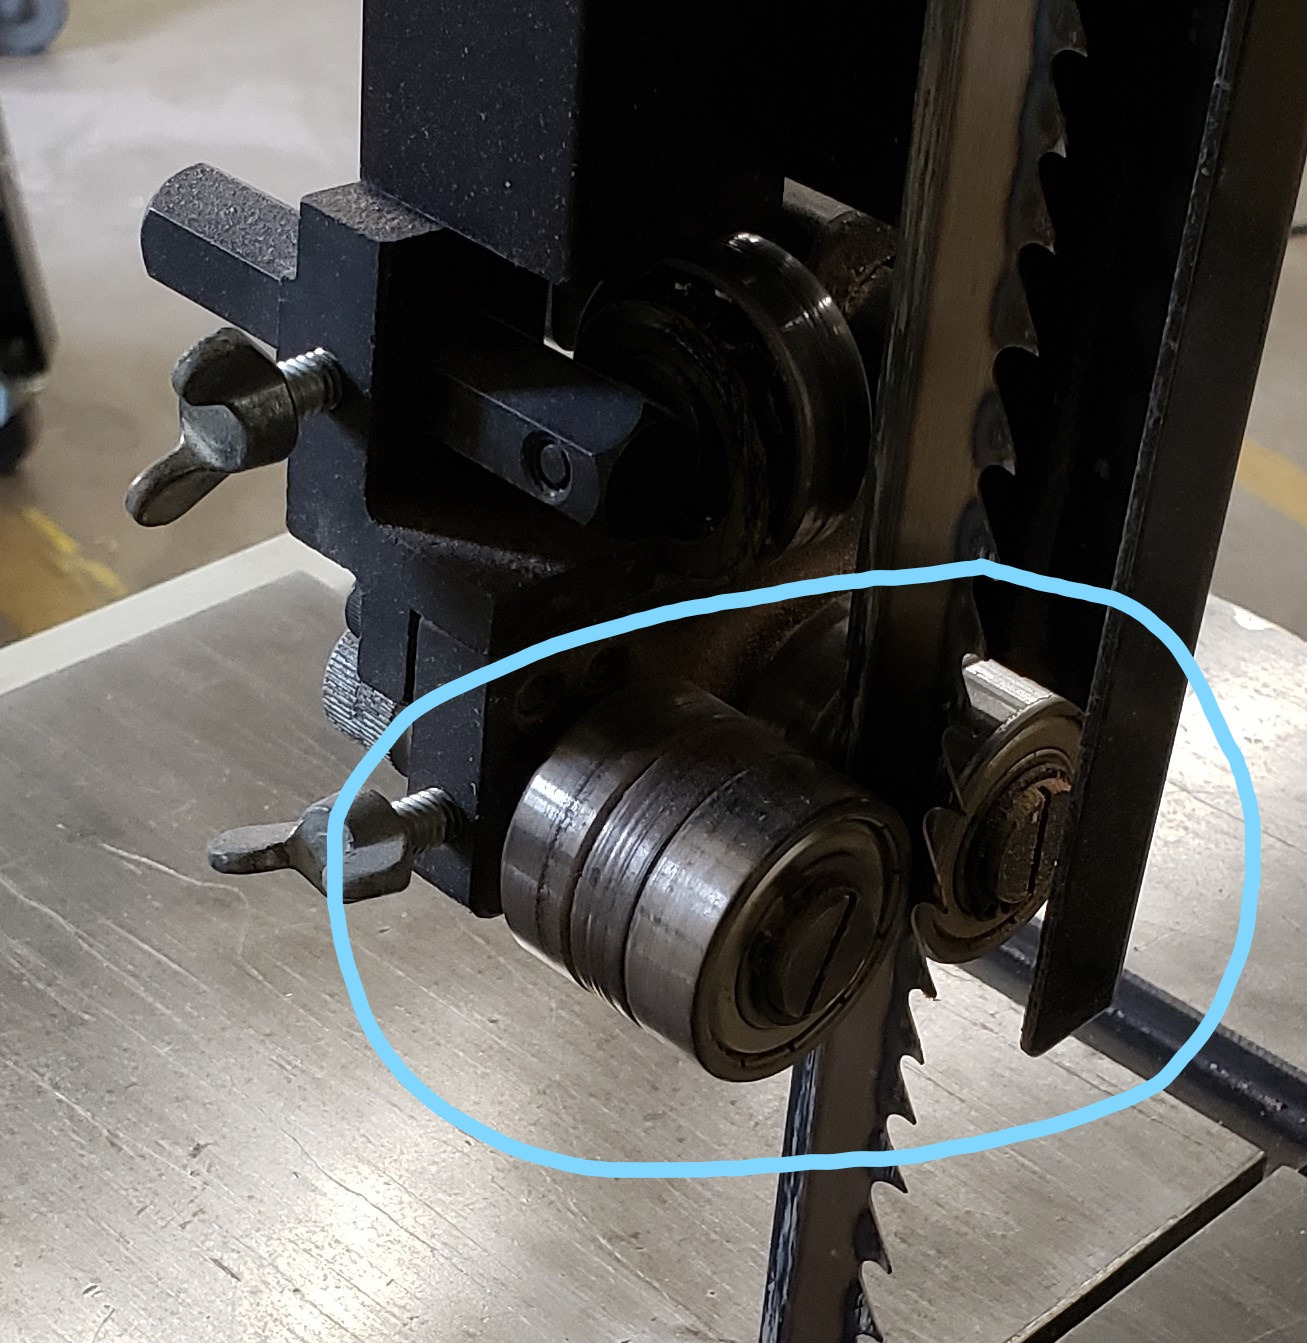
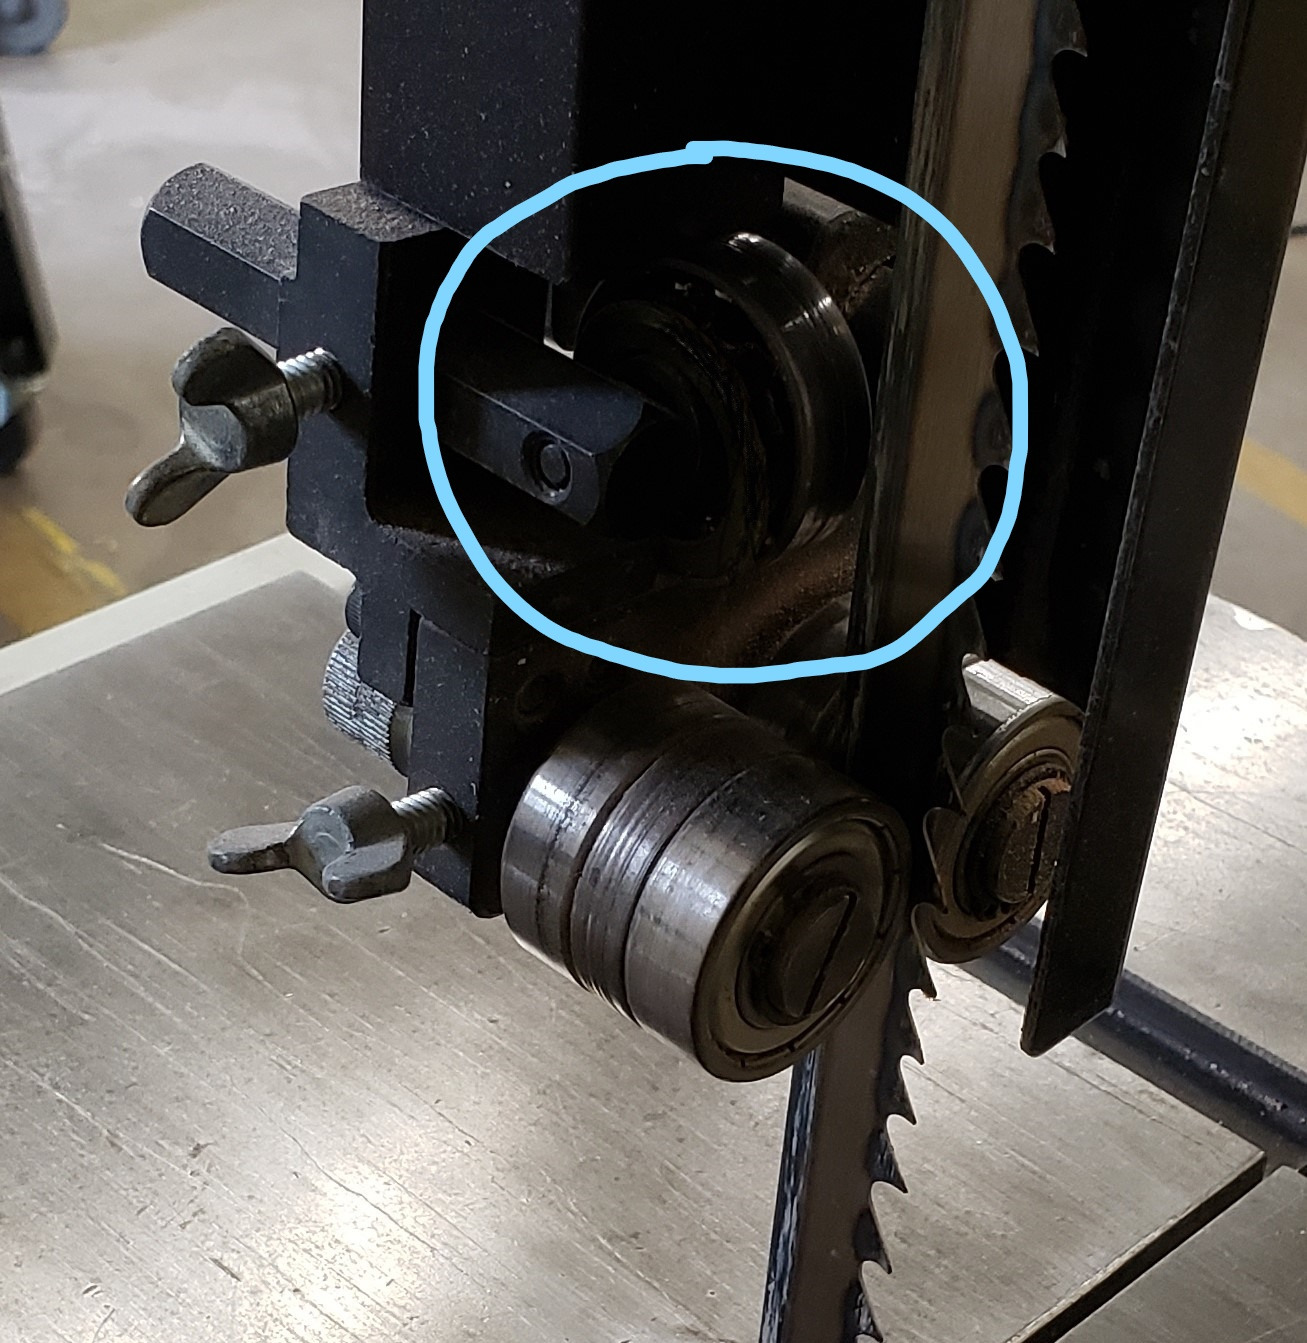
Guide Bearings - The rollers to each side of the blade are designed to help prevent the blade from wandering over the length of a cut. They should be positioned as close to the blade as possible without touching the blade when the saw is idling. The front edge of the guide rollers should overlap as much of the blade as possible without contacting any part of the tooth profile. Be sure the teeth do not touch the guide bearings even when the blade is pushed backwards against the thrust bearing.
-
Thrust Bearing - The roller behind the blade helps the blade not get pushed off the back of the wheels during a cut. It is not designed to provide a lot of resistance, and care should be taken not to excessively push the blade against the bearing. It should sit approximately 1/32” behind the blade when the saw is idling.
-
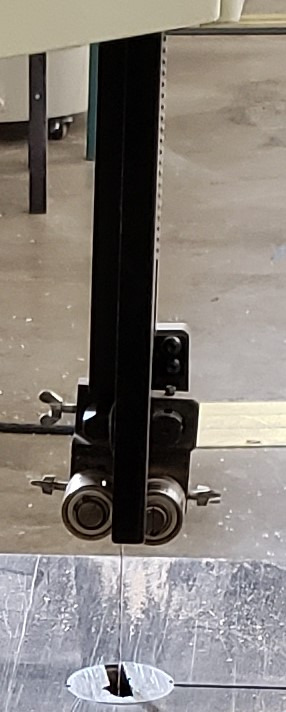
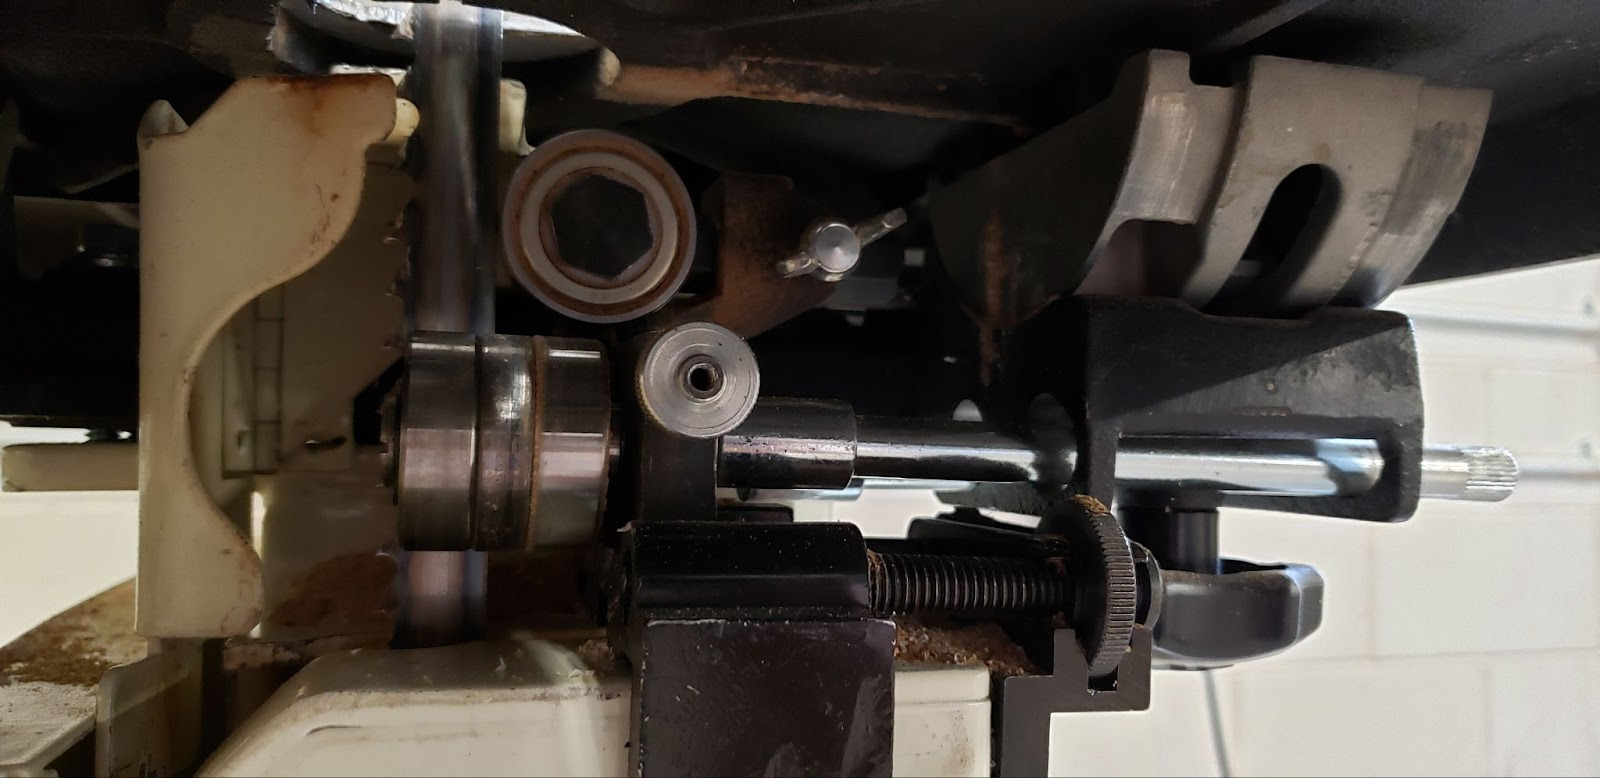
Lower Guide Block - Just below the throat plate sit the lower blade guides, consisting of two Guide Bearings and one Thrust Bearing.
-
Tension Lever - The red handled-lever on the back of the saw is a quick-release tension lever used when changing the blade. This should generally be left in the 11 o’clock position. If the lever is pushed clockwise or counter-clockwise from 11, the tension on the blade will be released, and the blade may come off the wheels or break during a cut.
-
Tension Knob - Found under the top housing, this knob adds or removes tension from the blade. This should not be adjusted unless advanced training has been acquired.
-
Blade Tracking Knob - Found on the back of the saw, this knob tilts the top wheel forward and backward in order to adjust where on the wheel the blade rides. The blade should ride in the middle of the wheel. Only small adjustments should be made to the tracking, and should be made only when spinning the top wheel by hand, not powered by the motor. The guide bearings and thrust bearing will need to be readjusted after changing the tracking.
Tool Safety
COMMON HAZARDS
The most immediate hazard of the bandsaw is contact with the blade. Care should be taken to keep your hands out of the path of the blade. Plan for the end of the cut and how you will maneuver the trailing end of the workpiece past the blade as you finish the cut. Use a push stick when your fingers would have to get within 6” of the blade. Often lumber can be pulled from the rear of the saw to finish a cut.
Another hazard is having lumber twist, tip, or shift in some other way, and bind on the blade. This can cause blade breakage, or forceful ejection of the workpiece which can strike the user or pull the user into the blade. Always keep a flat surface of the workpiece against the table. For round stock (imagine ripping a log down the middle) a special jig is required to prevent the stock from rolling. Having infeed and outfeed rollers is often needed to support the weight of the stock as it moves onto and off of the table surface.
Reclaimed wood often has embedded nails or screws which can damage the blade, cause the workpiece to kick, and can scratch the table. All reclaimed wood should be checked with the hand-held metal detector before resawing.
Every blade has the potential to fail catastrophically. If the blade does break during operation, you will hear a loud POP. The blade may stop moving but remain embedded in the workpiece, or the blade may be pulled into the housing. In the worst scenario the broken blade will get caught on the lower drive wheel and start thrashing around inside the lower housing. In any of these scenarios, immediately hit the off button and step away from the machine until everything has stopped. If it is unsafe to access the stop button, just step away from the machine. Unplug it if you can access the plug, or find the appropriate breaker to disconnect power to the machine. Alert a staff member and report a maintenance report.
Sometimes prior to a blade failing, a crack will develop between two teeth and start propagating across the blade towards it’s spine. As the crack lengthens it will also start to open, which will push that part of the blade slightly forward from the rest of the blade. This will cause a rhythmic “shick shick shick” sound and the cutting action will feel choppy and uneven. If you experience this, stop the machine and inspect the entire length of the saw looking for a crack. Some blades are simply welded a little crooked and will have this symptom even when it is not cracked.
PROHIBITED MATERIALS
Reclaimed wood often has embedded nails or screws which can damage the blade, cause the workpiece to kick, and can scratch the table. All reclaimed wood should be checked with the hand-held metal detector before being resawn.
Reclaimed materials may be painted with lead paints. Lead paints are prohibited in the shop as the dust created is toxic.
No metals shall be cut on the resaw bandsaw.
Material that is not thick enough to engage with two full blade teeth should not be used. Thin wood can slip deeply into the gullet of a tooth, creating a rigid floor that the next tooth will slam down onto, causing tooth breakage. Once one tooth of the saw is broken, it creates a larger gap that wood can slip into, and the rest of the teeth will break off in short order.
Initial Setup
SETUP BREAKDOWN
-
Open the top blade guard door. Spin the top wheel by hand, being careful not to touch the blade or get your fingers caught between the blade and the wheel. Watch where the blade rides on the wheel. If it does not ride in the middle of the wheel, the blade tracking knob will need to be used to realign the tracking of the blade. To do so, loosen the lock nut on the knob and SLOWLY turn the knob while continuing to spin the top drive wheel. After making a small adjustment, continue to spin the wheel until the blade settles into it’s new position. Repeat this process until the blade is tracking properly. It may be necessary to move the thrust bearings backwards if they are preventing the blade from moving backwards while adjusting the tracking. Lock the tracking knob’s nut back in place and close the top guard door.
-
Loosen the blade guard knob to allow the blade guard to move freely. Use the blade guard crank to raise or lower the blade guard. It should be positioned so that it sits approximately ¼” above the highest part of the workpiece as it passes below the guide. The goal is to prevent your fingers from getting between the blade guard and the top of the workpiece while still allowing the workpiece to pass freely below the blade guard. Once the blade guard is positioned correctly, lock it back in place.
-
Adjust the guide bearings so that there is only a paper’s thickness of space between the blade and the bearings when the blade is idling. The bearings should not spin when not making a cut, but should be positioned closely so that when sideways pressure is put on the blade the guides will be there to prevent bowing of the blade. Similarly the thrust bearing should be a small distance away from the back of the blade, allowing the natural tension between the wheels to provide most of the forward cutting pressure. The thrust bearing should be close enough to prevent the blade from being pushed backwards on the drive wheels, but ideally should not be forcing the blade through the cut.
-
If making a long cut (one where more than half the workpiece will hang off the back of the table when finishing the cut), an outfeed roller stand should be positioned to help support the weight of the workpiece as it exits the saw. Positioning the roller stand at exactly the same height as the table is ideal, but slightly lower is better than slightly higher, allowing for a smooth exit without any hang-ups.
-
Have a push-stick at hand so that as you approach the end of the cut you can quickly pick it up and push the workpiece past the blade without stopping the operation or fumbling around at a critical moment.
CONSUMABLES
The blade is the shop’s responsibility, but should be inspected each time you use the machine. Check to make sure there is not excessive pitch build-up, broken teeth, or cracks in the blade. Report any problems via a maintenance request.
Users may wish to bring in their own saw blades, but should receive additional training in how to safely remove and install saw blades.
Basic Operation
OPERATION BREAKDOWN
Open dust gate
Power on Dust Collection
Adjust the fence
If using a fence to help create a uniform cut thickness, set it’s position now.
Position the workpiece
Place the workpiece flat against the table a few inches in front of the blade, and firmly against the fence if needed.
Turn on the machine.
Start the cut.
Gently bring the workpiece into contact with the blade.
Feed through the cut
With firm, constant pressure, feed the workpiece past the blade, allowing the blade to cut away the material without excessive forward pressure. Let the machine do the work.
Finish the cut
As you approach the end of the cut, use a push-stick to feed the workpiece completely past the blade without endangering your fingers. Maintain sideways pressure against the fence for as long as possible, but do not pinch the blade between the two sides of the cut. Push the pieces completely past the blade, making sure not to leave any part of the workpiece trapped between the blade and the fence if using.
Turn off the machine
If the blade needs to be stopped quickly, a sacrificial piece of wood can be fed into the blade in order to provide stopping friction by cutting.
Cleanup
SCRAP BREAKDOWN
There is a large black scrap bin at the back of the shop. Maintaining this is a shared, communal responsibility.
When you notice the scrap bins are full, sort through the items and clean out the least usable items. We generate more scrap than we use, so please throw away anything that is questionable, or requires processing (removal of nails, disassembly, etc).
Troubleshooting
Special Setups
It will be necessary to use a sled or v-block of some sort in order to safely feed round stock lengthwise through the bandsaw.
Additional Resources
Wood Magazine - How to resaw lumber (resaw technique) https://www.youtube.com/watch?v=hgTpsGDRRRo
Band Saw Clinic with Alex Snodgrass - (blade setup) https://www.youtube.com/watch?v=wGbZqWac0jU
AmericanWoodworker - The Flutter Test (blade tensioning) https://www.youtube.com/watch?v=z8zZuDosSy0
Matt Estlea’s Guide to Setting up a bandsaw (comprehensive setup) https://www.youtube.com/watch?v=ugc85kJmos8
No Comments