
Set up your dev environment
Let's get up and running with a dev environment, so you can make code changes without affecting production. By the end of this guide, you will have:
- Set up Docker to run the containerized dev environment
- Cloned the public protohaven_api repository where our code is hosted
- Set up pre-commit to automatically format and check code changes for problems
- Initialized NocoDB - our development database - to run locally with testing data
- Verified that both CLI commands and the web service works.
- Successfully made edits to both the CLI and web service.
Install Docker
We rely heavily on using docker containers to run the various services in a dev environment - make sure Docker is installed first before continuing.
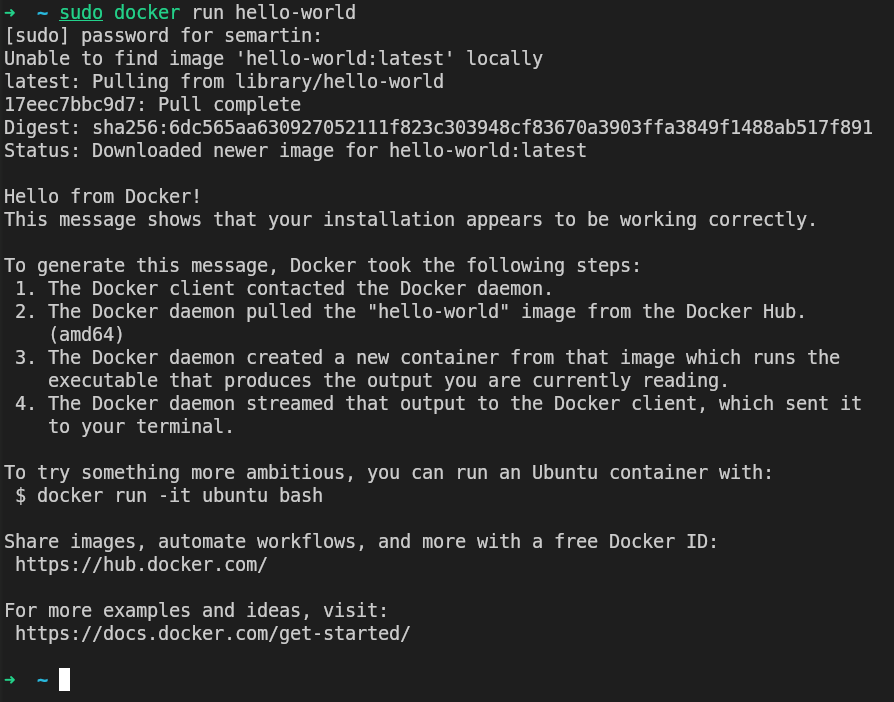
Once docker is installed, run sudo docker run hello-world and verify that it pulls a container image, starts the container, prints a status message and exits with no errors:
Clone the repository & set up pre-commit
Next, let's grab the code and set up pre-commit, which autoformats our code and identifies errors before we try to submit changes. Log into GitHub, then go to https://github.com/protohaven/protohaven_api. You should see a "fork" option on the repository, towards the right of the screen:

Follow the onscreen process for forking the repository, then perform the steps below.
# Clone the repository - be sure to substitute your username!
git clone git@github.com:<YOUR_GITHUB_USERNAME>/protohaven_api.git
# Set up pre-commit validation hooks
pip install pre-commit
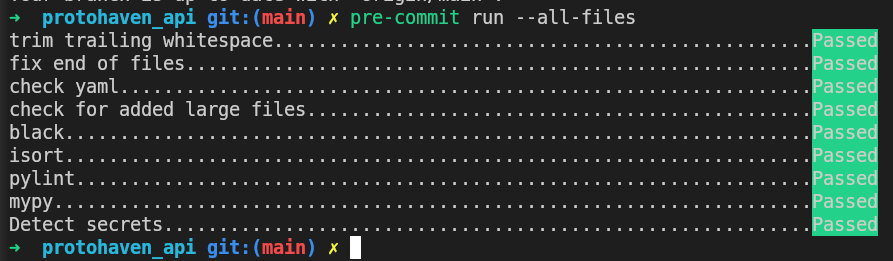
cd protohaven_api && pre-commit installAfter pre-commit finishes installing, run it on all files (with pre-commit run --all-files) and verify everything passes:
Load Data (NocoDB)
We use NocoDB to provide local testing data. Nocodb must be running in order to run other local dev services like Flask and the svelte frontend, and we must prefill it with tables and dev data so that it behaves as expected locally.
To initialize NocoDB with testing data - or wipe and re-populate the data if it's already installed - run this command:
# Must run in the root of the protohaven_api repository, or it will fail
cd path/to/protohaven_api
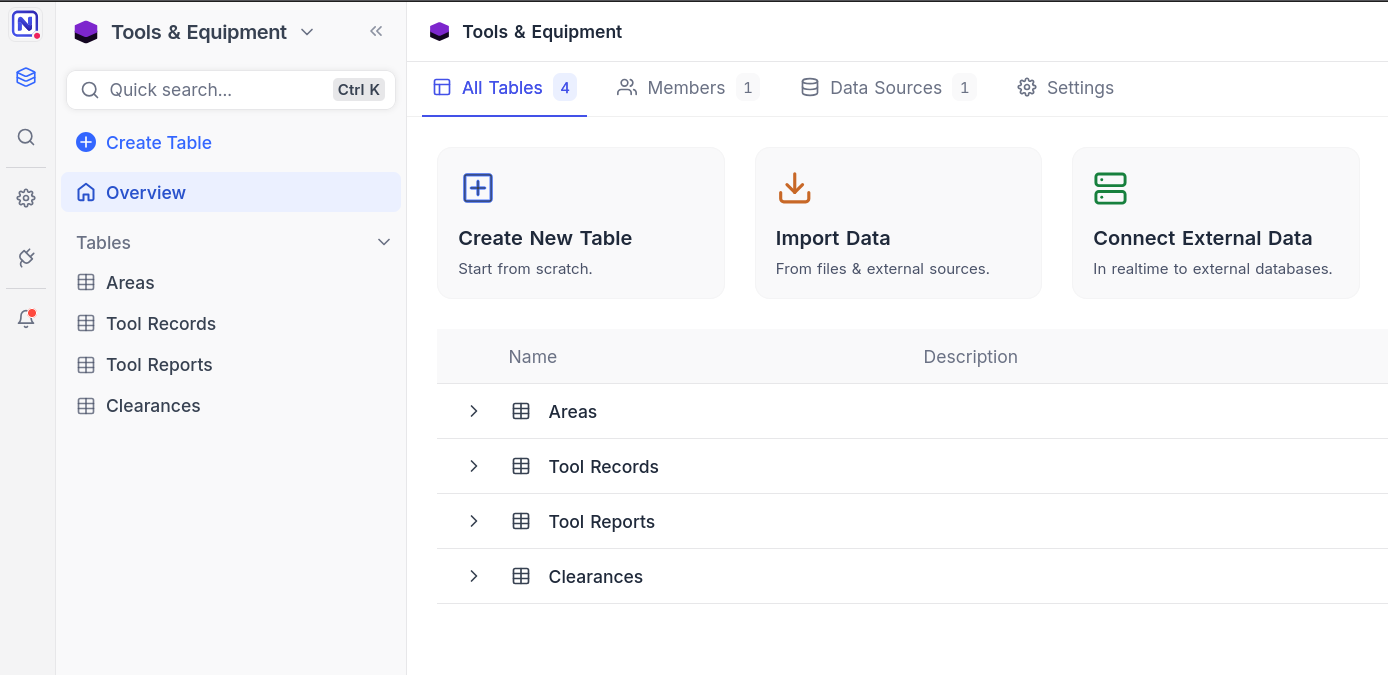
./nocodb/init_or_update_nocodb.shFollow the prompts in the script, which should have you browse to http://localhost:9090 and login with:
- Username: admin@example.com
- Password:
password
Verify you see something like this and can click around into various bases and tables and see test data:
Start services
With NocoDB now up, let's run the other containers that host our various services:
docker compose watchWait for the installation and setup process to finish up - this may take a few minutes.
You'll know it's done when you see something like this in your console:
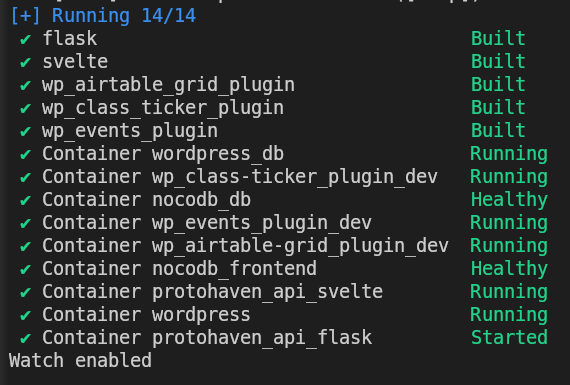
Take particular note of Watch enabled - if that's not present, things won't auto reload when you make a change.
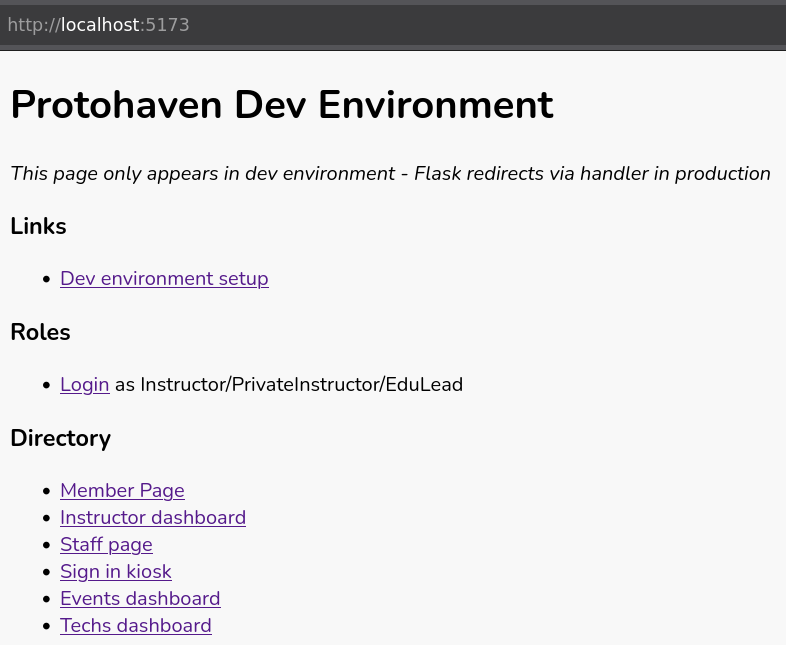
Now browse to: https://localhost:5173/ and verify you can access the dev landing page:
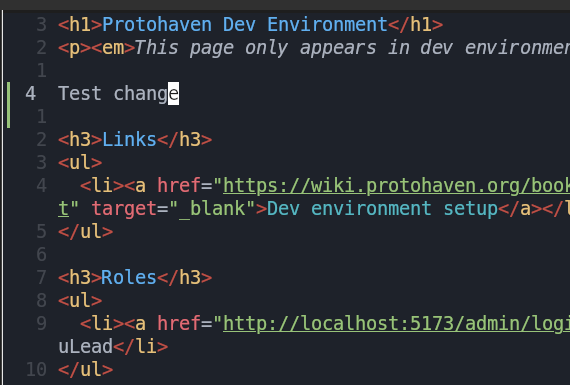
Using your editor of choice, open svelte/src/routes/+page.svelte in the repository you cloned. Add a little text to the file, then save it.
In your console, you'll see Syncing service "svelte" after 1 changes were detected as docker notices the changed file.
Reload the landing page and confirm the change propagated:

Run the CLI
Our codebase includes an extensible CLI. We issue these commands on a regular schedule with Cronicle, and can run one-offs for troubleshooting and special actions.
Let's make sure the CLI works so we can test local changes to CLI commands:
# Test your setup - you should see a YAML formatted message reminding instructors to schedule classes
docker compose exec flask python3 -m protohaven_api.cli gen_instructor_schedule_reminder
Important: All services must be running in order to execute CLI commands
Verify you see something like the following output (no errors):
Let's confirm that changes to CLI code are runnable. Edit protohaven_api/commands/classes.py, adding a log statement to the gen_instructor_schedule_reminder method
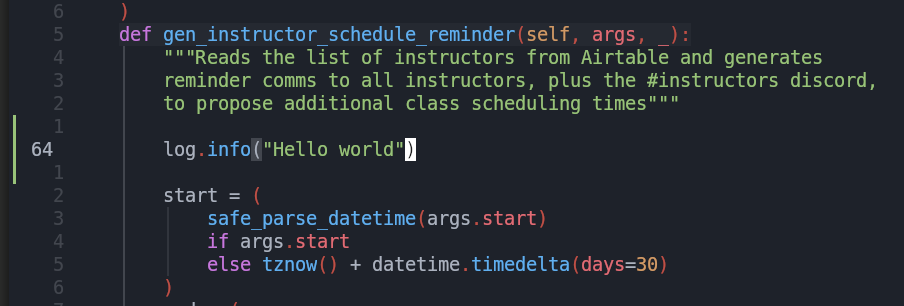
Save the file, then rerun the exec command above. Verify that you see INFO:cli.classes:Hello world in the console output.
Run Tests
We use pytest for unit testing code changes.
Run python -m pytest -vv and observe all tests passing, possibly with some deprecation warnings:

Protip: You can optionally use -k test_substring as an argument to run a specific test.
LoggingWell in as different users
There's a helpful handler for setting your login session to one of the accounts in the "Fake Neon" base of your local Nocodb instance:
http://localhost:5173/admin/login_as?neon_id=1797
Replace 1797 with an account ID of your choice to populate your browser session with info from the matching row in Fake Neon > accounts. 1791 in this case is set up as an instructor so can be useful for workingCongrats on themaking classit schedulingthrough UIdev andenvironment automation.
RunNow Bookstack (http://localhost:6875)
First time setup
We run Bookstack in a Docker container with several volumes/files mounted - but Bookstack'let's first-run initialization process doesn't kick off if files are already present. To run Bookstack for the first time so this initialization happens:
cd protohaven_api/bookstack
docker compose --profile no_plugin up
Wait for initialization to settle (a couple of minutes), then proceed to adding custom head content below.
Adding custom head content
Manually copy the contents of custom_head_content.html (from protohaven_api/bookstack/) into the "Custom HTML Head Content" textarea in the settings of the wiki.
Normal development
To start a server after the first run:
cd protohaven_api/bookstack
docker compose down
docker compose --profile protohaven up -d
To view debug logs:
tail -f protohaven_api/bookstack/bookstack_app_data/log/bookstack/laravel.log"Invalid redirect_uri parameter value."
Because it's a local instance trying to do OAuth authentication with Neon CRM, you may see this login error when initially trying to view a page.
When the server is running locally, authentication can be shortcut using http://localhost:6875/login_as?email=admin@admin.com. You may also create other users and login as them by changing the value of the email param.
Testing OAuth and role syncing
OAuth testing requires production credentials. This should be done on the Cron server in the ~/protohaven_api instance of the repository.
With the a running instance of Bookstack on the Cron server:
Open a new tab, and open the browser console to theNetworkingtab so you can see network requests.Browse to wiki.protohaven.org - logout if you're already logged in, using the triple-dot menu on the top right of the page. You should be immediately taken to a Neon login page.Submit your login credentials and get redirected back to the prod wiki.Search for /login?code=<random string>Replace the base of the URL with the URL of the bookstack instance and browse toput it tologinworktoandthe local instance.
Run Wordpress
To start a wordpress dev container, run the following:
cd protohaven_api/wordpress
docker compose up
Note that the plugin directories are automatically installed via volume mounts in docker-compose.yaml, however to get live updates you'll also need to run the nodejs script for the plugin you're currently editing:
cd protohaven_api/wordpress/protohaven-class-ticker
npm install
npm run start
Then you can browse tomake http://localhost:8080 to interact with your wordpressfirst server.contribution.