
2D/3D Design
2D (Inkscape) Design: Basic Wrench
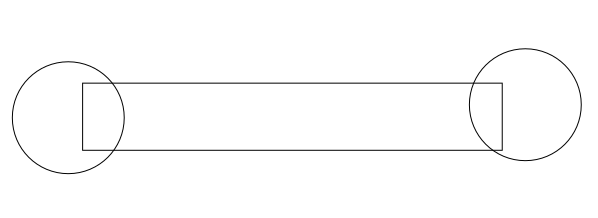
Set up the primitive shapes
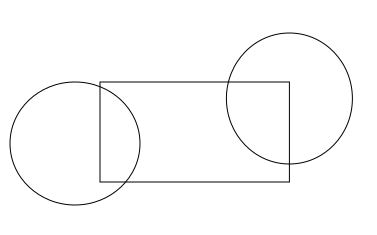
- Using the circle and rectangle toolbar icons on the left side of the window, draw two circles and a rectangle of any size.


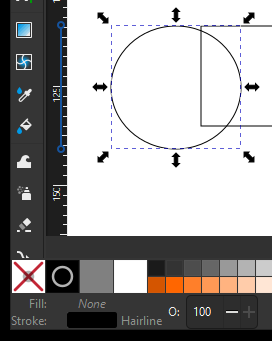
- Select all objects and set the stroke to black, and the fill to transparent (the "X" color on the bottom left corner of the page)

- Set the dimensions of the rectangle to 75x15mm and the width/height of each circle to 20mm (i.e. 20mm diameter)
For rectangle:
For circles:

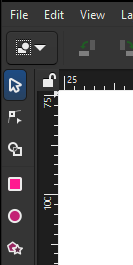
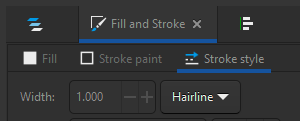
- Ensure the rectangle and circle stroke style are all set to "hairline" (
Object>Fill & Stroketo open the right panel, then select theStroke Styletab and select "hairline" from the width's units dropdown).

- Drag the circles so they hang over either side off the rectangle.

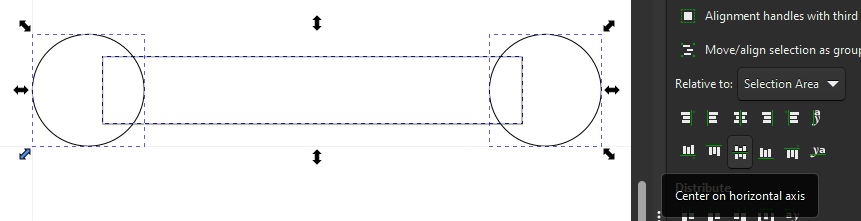
- Using the Align and Distribute panel (Accessible from the top menu - Object > Align & Distribute), select all three objects and click "Center on horizontal axis" (the icon in the bottom middle of the Align icon set) to align their vertical centers.


Creating the interior/flats