
Woodworking Drill Press Tutorial
Protohaven
Wood Shop Drill Press
Jet Step Pulley Drill Press JDP-20MF
Tool Tutorial
The Setup, Operation, and Cleanup Checklists of this guide are what instructors use to ensure that you can use the equipment according to community expectations.
Provides a stable setup to drill repeatably vertical holes.
Usage Highlights
Woodshop Drill Press Clearance or Class Equivalent Required Before Use
Personal Protective Equipment
Safety glasses must always be worn. Hearing protection is highly recommended in the workshop, especially when the dust collection fan is active.
Tool Anatomy
MACHINE ANATOMY
-
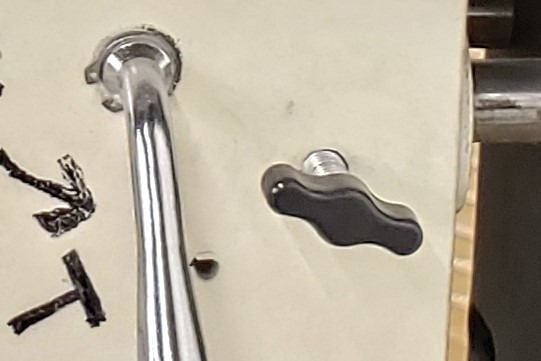
Power Switch - on/off switch
-
Maintenance Tag - Manually tracks the usability status with Green/Yellow/Red cards
-
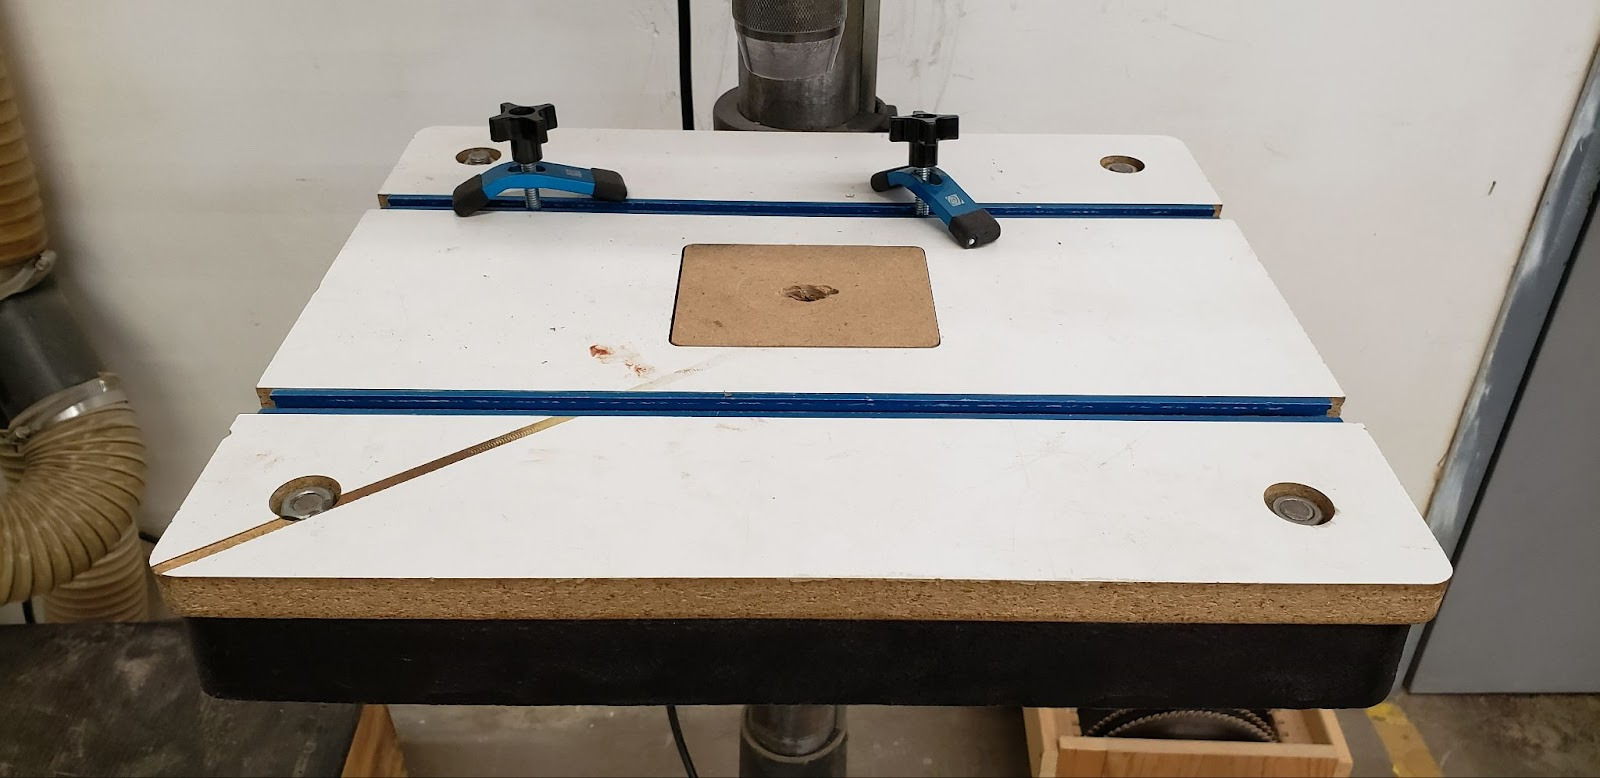
Table - Features clamp rails and sacrificial table inserts
-
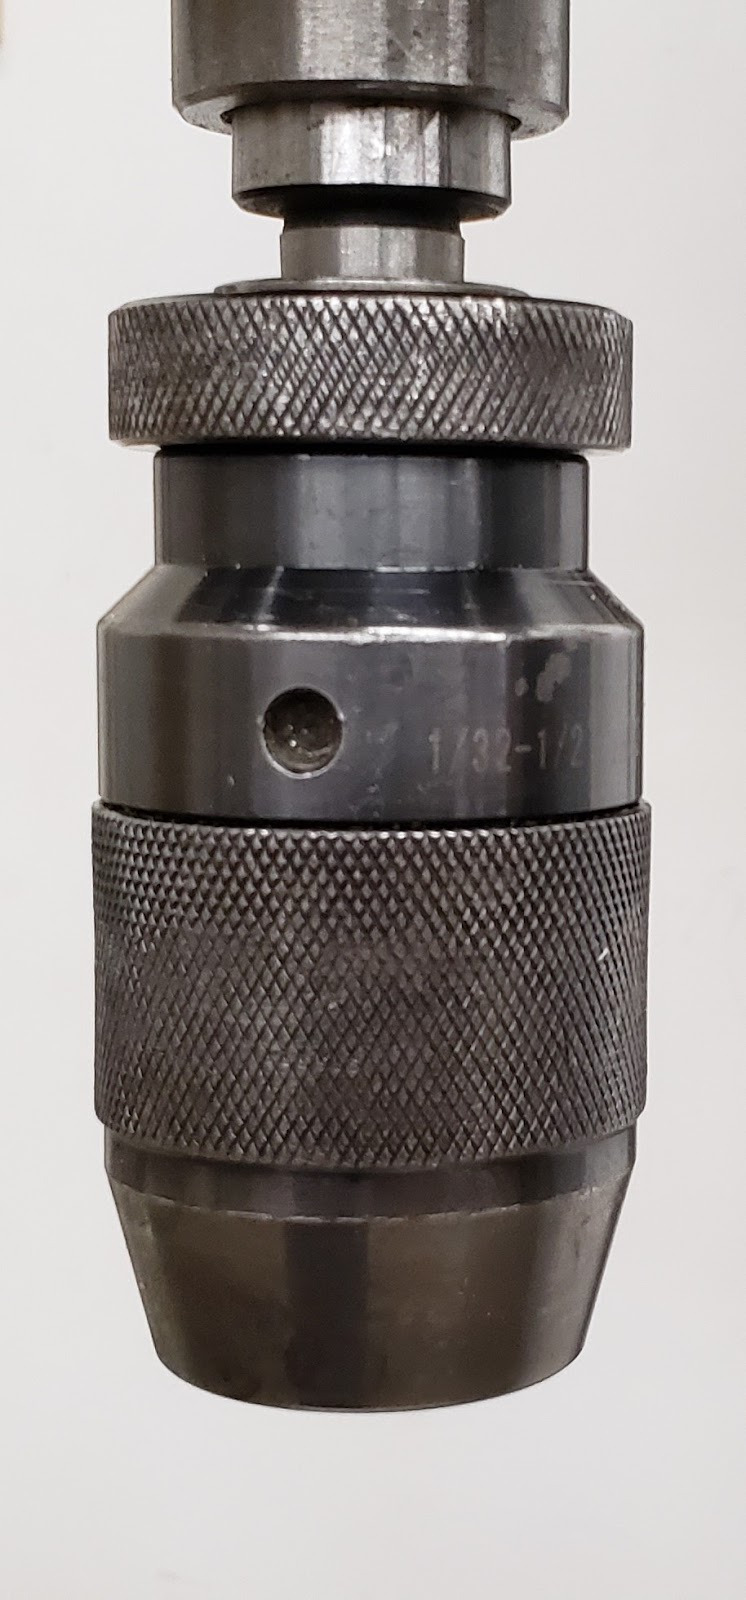
Chuck - 3-finger chuck opens and closes by hand to hold drill bits
-
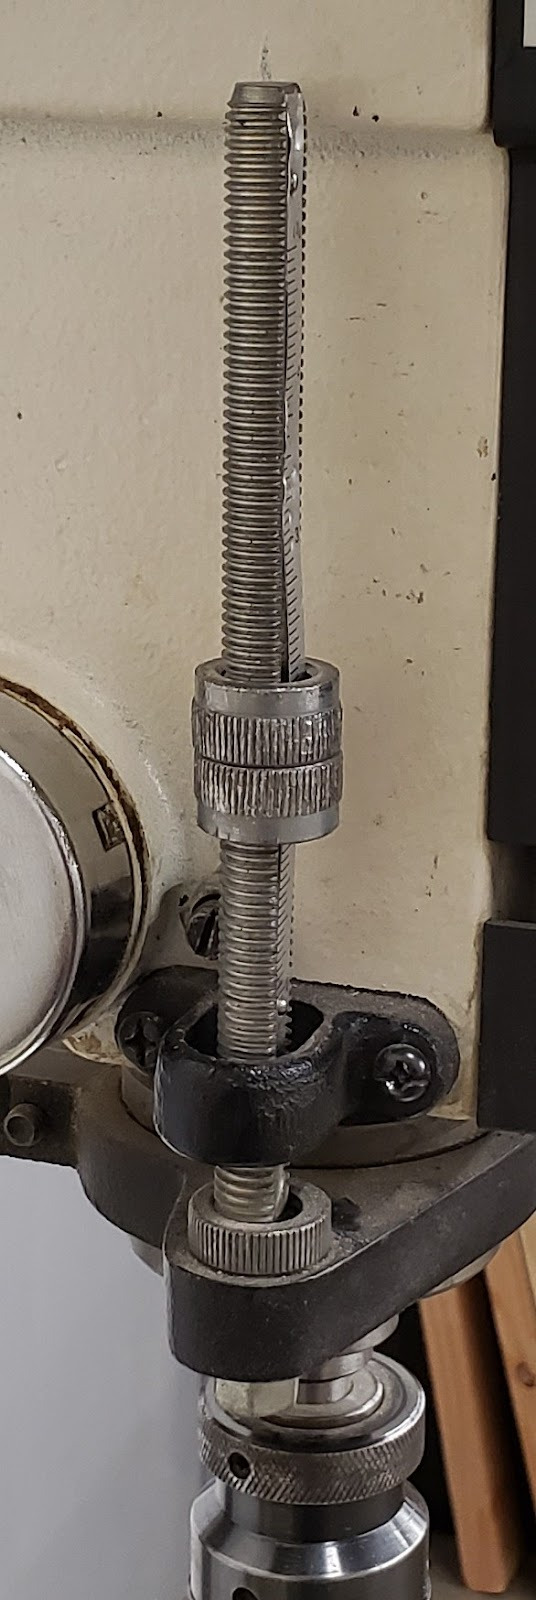
Feed Handle - Used to lower the drill into the workpiece
-
Depth Stop - Can be used to limit the depth of a drilling operation
-
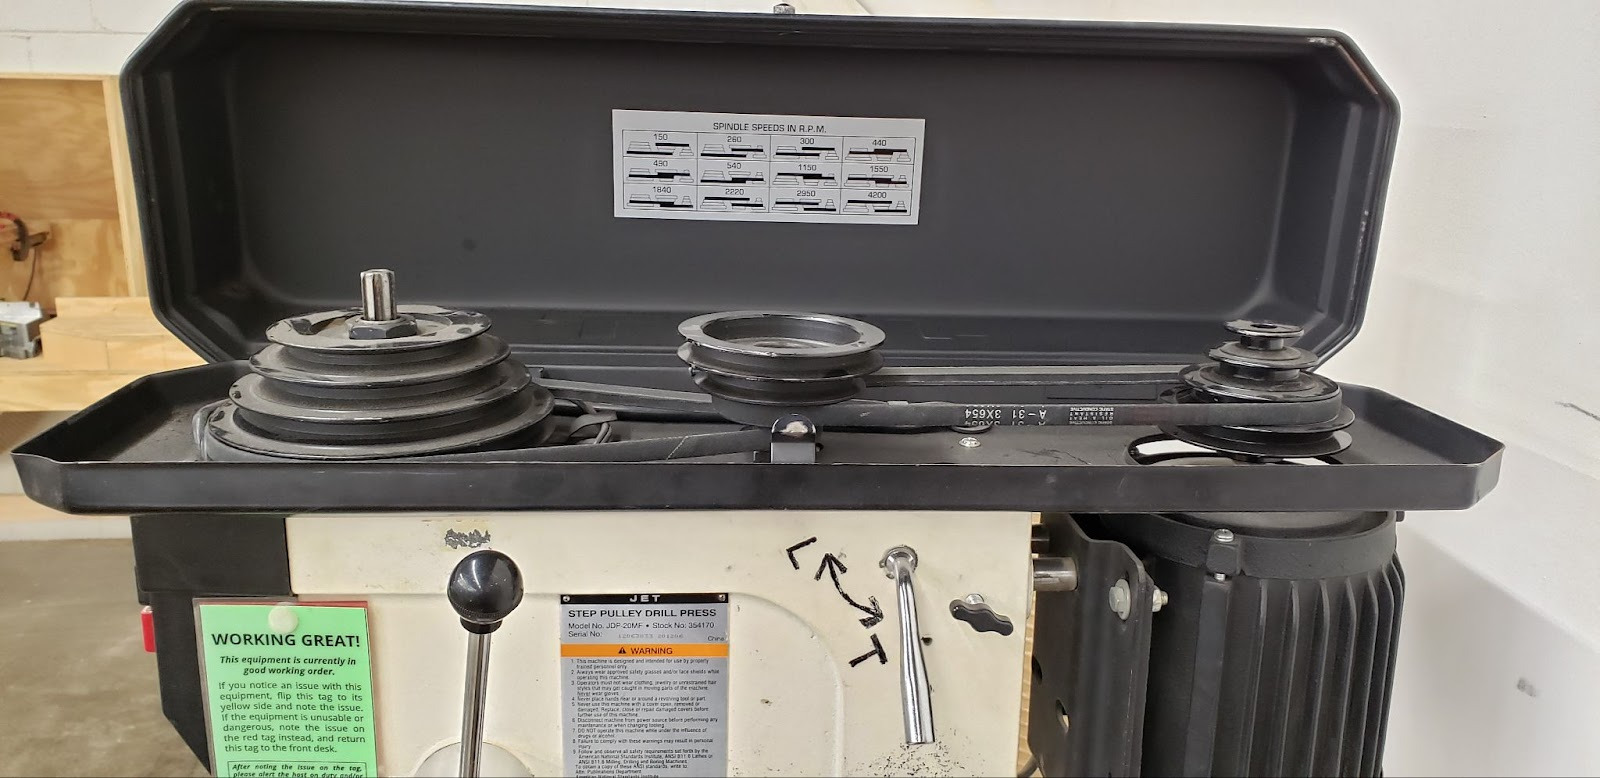
Drive Belts - Used to transmit the power of the motor to the chuck at varying RPMs
-
Belt Tension Lever - Adds or removes tension from the drive belts
-
Belt Tension Locks - Locks the belt tension in place
Tool Safety
COMMON HAZARDS
If a drill gets stuck in a workpiece during a drilling operation, it can spin the workpiece violently, causing broken fingers or other injuries. Always clamp workpieces to the table and never rely on holding a workpiece by hand.
Spindle entanglement can occur when fabric gets caught by or wrapped around the chuck or spindle. Never wear gloves while using a drill press, and keep loose clothing and hair away from moving parts.
PROHIBITED MATERIALS
N/A
Initial Setup
SETUP BREAKDOWN
Install a bit
Choose a bit sized appropriately for your project. Open the fingers of the chuck by using two hands to twist the top and bottom knurled pieces. Place the bit into the chuck centered between the three fingers. Close the jaws of the chuck by using two hands to twist the knurled pieces. As the jaws close, double-check that the bit is held by all three fingers and not caught between just two fingers.
Adjust the RPMs
Depending on the diameter of the bit, you may need to adjust the RPMs at which it is spun. Wood is generally forgiving about drill speed, and a medium speed will do for most jobs, but drilling with large forstner bits will require slower speeds due to the forces required for the high material removal rate. Similarly, very small bits will need faster speeds in order to cut properly.
Unplug the machine before adjusting the drive belts. After unplugging the machine, open the belt cover at the top of the machine. Loosen the tension lock knobs found towards the rear of each side of the machine’s head. Once loosened, pull the tension lever toward the front of the machine to remove tension from the drive belts.
Remove both belts from the pulleys. Start with the highest belt and remove it from the top of the ‘pyramid’ pulley, then the ‘tornado’ pulley. Repeat for the second belt.
Look up the desired RPMs on the chart provided inside the lid of the belt housing. Reinstall the drive belts as shown on the chart, starting by installing the lowest belt first, ‘tornado’ pulley first, then ‘pyramid’. Do the same for the second belt.
Standing behind the drill press, pull the lever towards the rear of the machine. As you pull, check that tension is added evenly to both belts. Some shaking of the middle pulley may be needed to get the tension to be even. Maintaining the tension on the lever with your left hand, lock the far tension lock knob with your right hand. Finish by locking the near lock knob. Close the pulley cover.
Adjust the table height
Unlock the table with the table lock found where the table hooks to the vertical column. Turn the height adjustment crank to raise or lower the table so that the travel of the chuck will allow the entire depth of the hole to be drilled. Note that the table can also be rotated around the column while the table is unlocked. Lock the table in place when it is appropriately positioned.
Clamp the workpiece to the table
Using the blue clamps and the clamp rails embedded in the table, securely attach the workpiece to the table. The drilling operation can not only spin, but lift a workpiece, so make sure it is completely immobilized. If the blue clamps are too small to clamp your workpiece, utilize the bar clamps available in the woodshop to clamp around the edge of the table to secure your workpiece to the table.
COMMON SETTINGS
N/A
CONSUMABLES
While there are often drill bits in the wood shop tool bins available for general use, it is considered the responsibility of each member to provide their own bits. This ensures that each member will have sharp bits that are the size they need.
Basic Operation
OPERATION BREAKDOWN
Position the workpiece
Place the workpiece on the table and position the location where you want the hole directly below the tip of the drill. It is often useful to not only mark the position of the hole, but punch the location so that the drill does not wander or walk away from the correct position when it touches the surface of the work. The wider the tip of the drill is, the more likely it will be to wander. For large bits it is often useful to drill a smaller pilot hole first that the larger bit can then follow in a second pass.
Lock the clamps and table in place to keep the piece solidly positioned below the drill throughout the process.
Drill the hole
Turn the motor on and slowly lower the drill to the surface of the material using the feed handle. Once you are at the surface, slowly lower the drill into the material. After a half-inch or so of drilling, pull the drill back out of the hole to clear any chips that are building up in the flutes of the drill. Continue this ‘drill then clear’ pattern until you reach the desired depth or break through the bottom of the workpiece.
Turn off the machine
Slowly return the drill to its highest position and turn the motor off.
Cleanup
MAINTENANCE REQUESTS
-
Update the physical Maintenance Tag at the machine
-
Green can be used without issue
-
Yellow can be used with caution
-
Red cannot be used without hazard to either the user or the equipment
-
Record issues at protohaven.org/maintenance. This notifies our staff and volunteer maintenance crew of any issues
Troubleshooting
Special Setups
N/A
Additional Resources
Where can one find materials, tools, or other consumables (either local or online vendors)?
What helpful video tutorials are there where one can dive deeper into operating this tool?
If this is a CNC tool, where can one learn more about the CAD, CAM or CAD software?
Staff-Use
AUTHORIZED MAINTENANCE CREW ONLY
If you are part of the maintenance group please log on to the #maintenance channel of our Discord server to:
-
Perform a Maintenance Action
-
Request a Maintenance Purchase
-
Review complete Maintenance Logs for each machine
-
Generally chit-chat about maintenance
What preventative maintenance areas does the manual indicate? For example, a regular oil schedule, how often to tension belts/blades, and when to change a filter.
This is the area to simply name the topic, frequency, and page number where more information can be found in the manual.
Links to helpful videos or additional resources would be a helpful secondary source.