
Tool Tutorial
Rockwell Hardness Tester
Introduction
The Rockwell hardness tester is primarily for testing the hardness of steels. Whether it is to see if they are soft enough to be cut/machined or it is to see if a hardening process was successful.
The hardness tester presses a diamond into the metal to take the reading. The diamond tip must be treated with upmost care when loading/unloading the part to be tested. The diamond tip is good for testing the Rockwell C scale, parts that are softer than Rockwell C need a different tip that we currently do not have.
The process of testing hardness will leave a small indentation in the part. It is best to test hardness in an inconspicuous area.
These instructions are for the Rockwell C scale. The tester can also be set up for B scale, but that's not covered here.
If the material doesn't register on the C scale, we can machine the material on any of our tools.
If the material registers above 10 on the C scale, we need to be careful how we machine the material with our tooling - our tools might not be able to machine the material without excess care.
Rockwell C scale: 150kg of force
(Use for stuff that hardened already: tool steels, mild steel, etc.)
Rockwell B scale: 100kg of force (take off upper weight, change out the tip)
(Use for softer metals: aluminum, etc.)
Notes
Safety
- Use eye protection.
Common Hazards
If there is a weakness in the material being tested, the material may chip under pressure, and the debris may be ejected fromthe part at great speed. Always wear eye protection when using the hardness tester.
Care
Be careful of the C (diamond) indenter. This is a precision part, and bumping or crushing the indenter can reduce the accuracy of the machine.
Be careful of the granite block. The granite block is a precision surface, and should be protected by the cover at all times while using the hardness tester.
Tooling
Anvils and test plates are located on the shelf below the hardness tester. indenters are located in the draw cabinet next to the hardness tester.
Materials
Use the hardness tester with hard metals like steel.
Do not use this tool with soft metals, plastics, or wood.
Do not use this tool with any ceramics.
Parts of the Tool
Annotated Image(s)
Part Description
Part Description
Part Description
Basic Operation
(Special topics)
Setting Up
Make sure the tester is clean, level, and securely mounted.
Use safety glasses—small fragments can break off harder materials.
Prepare the Workpiece
-
Surface must be:
-
Clean (free from oil, paint, rust).
-
Flat and smooth (no mill scale or burrs).
-
-
Material must be:
-
Thicker than 3 mm (1/8").
-
Wide enough to avoid testing too close to edges (≥2.5 mm from edge).
-
Spaced 3+ mm from other indentations.
-
- If material is longer or imbalanced, you may have to build a support structure to keep the material equally balanced on the anvil. This can be a stack of wood with a machinist jack, or anything else that helps achieve the height. Do not use dirty/crumbly objects, such as bricks or cinder blocks. Be very careful with the granite surface.
Workholding
Install an appropriate anvil.
For most applications, select the appropriate flat anvil:
- Large flat anvil
- Small flat anvil
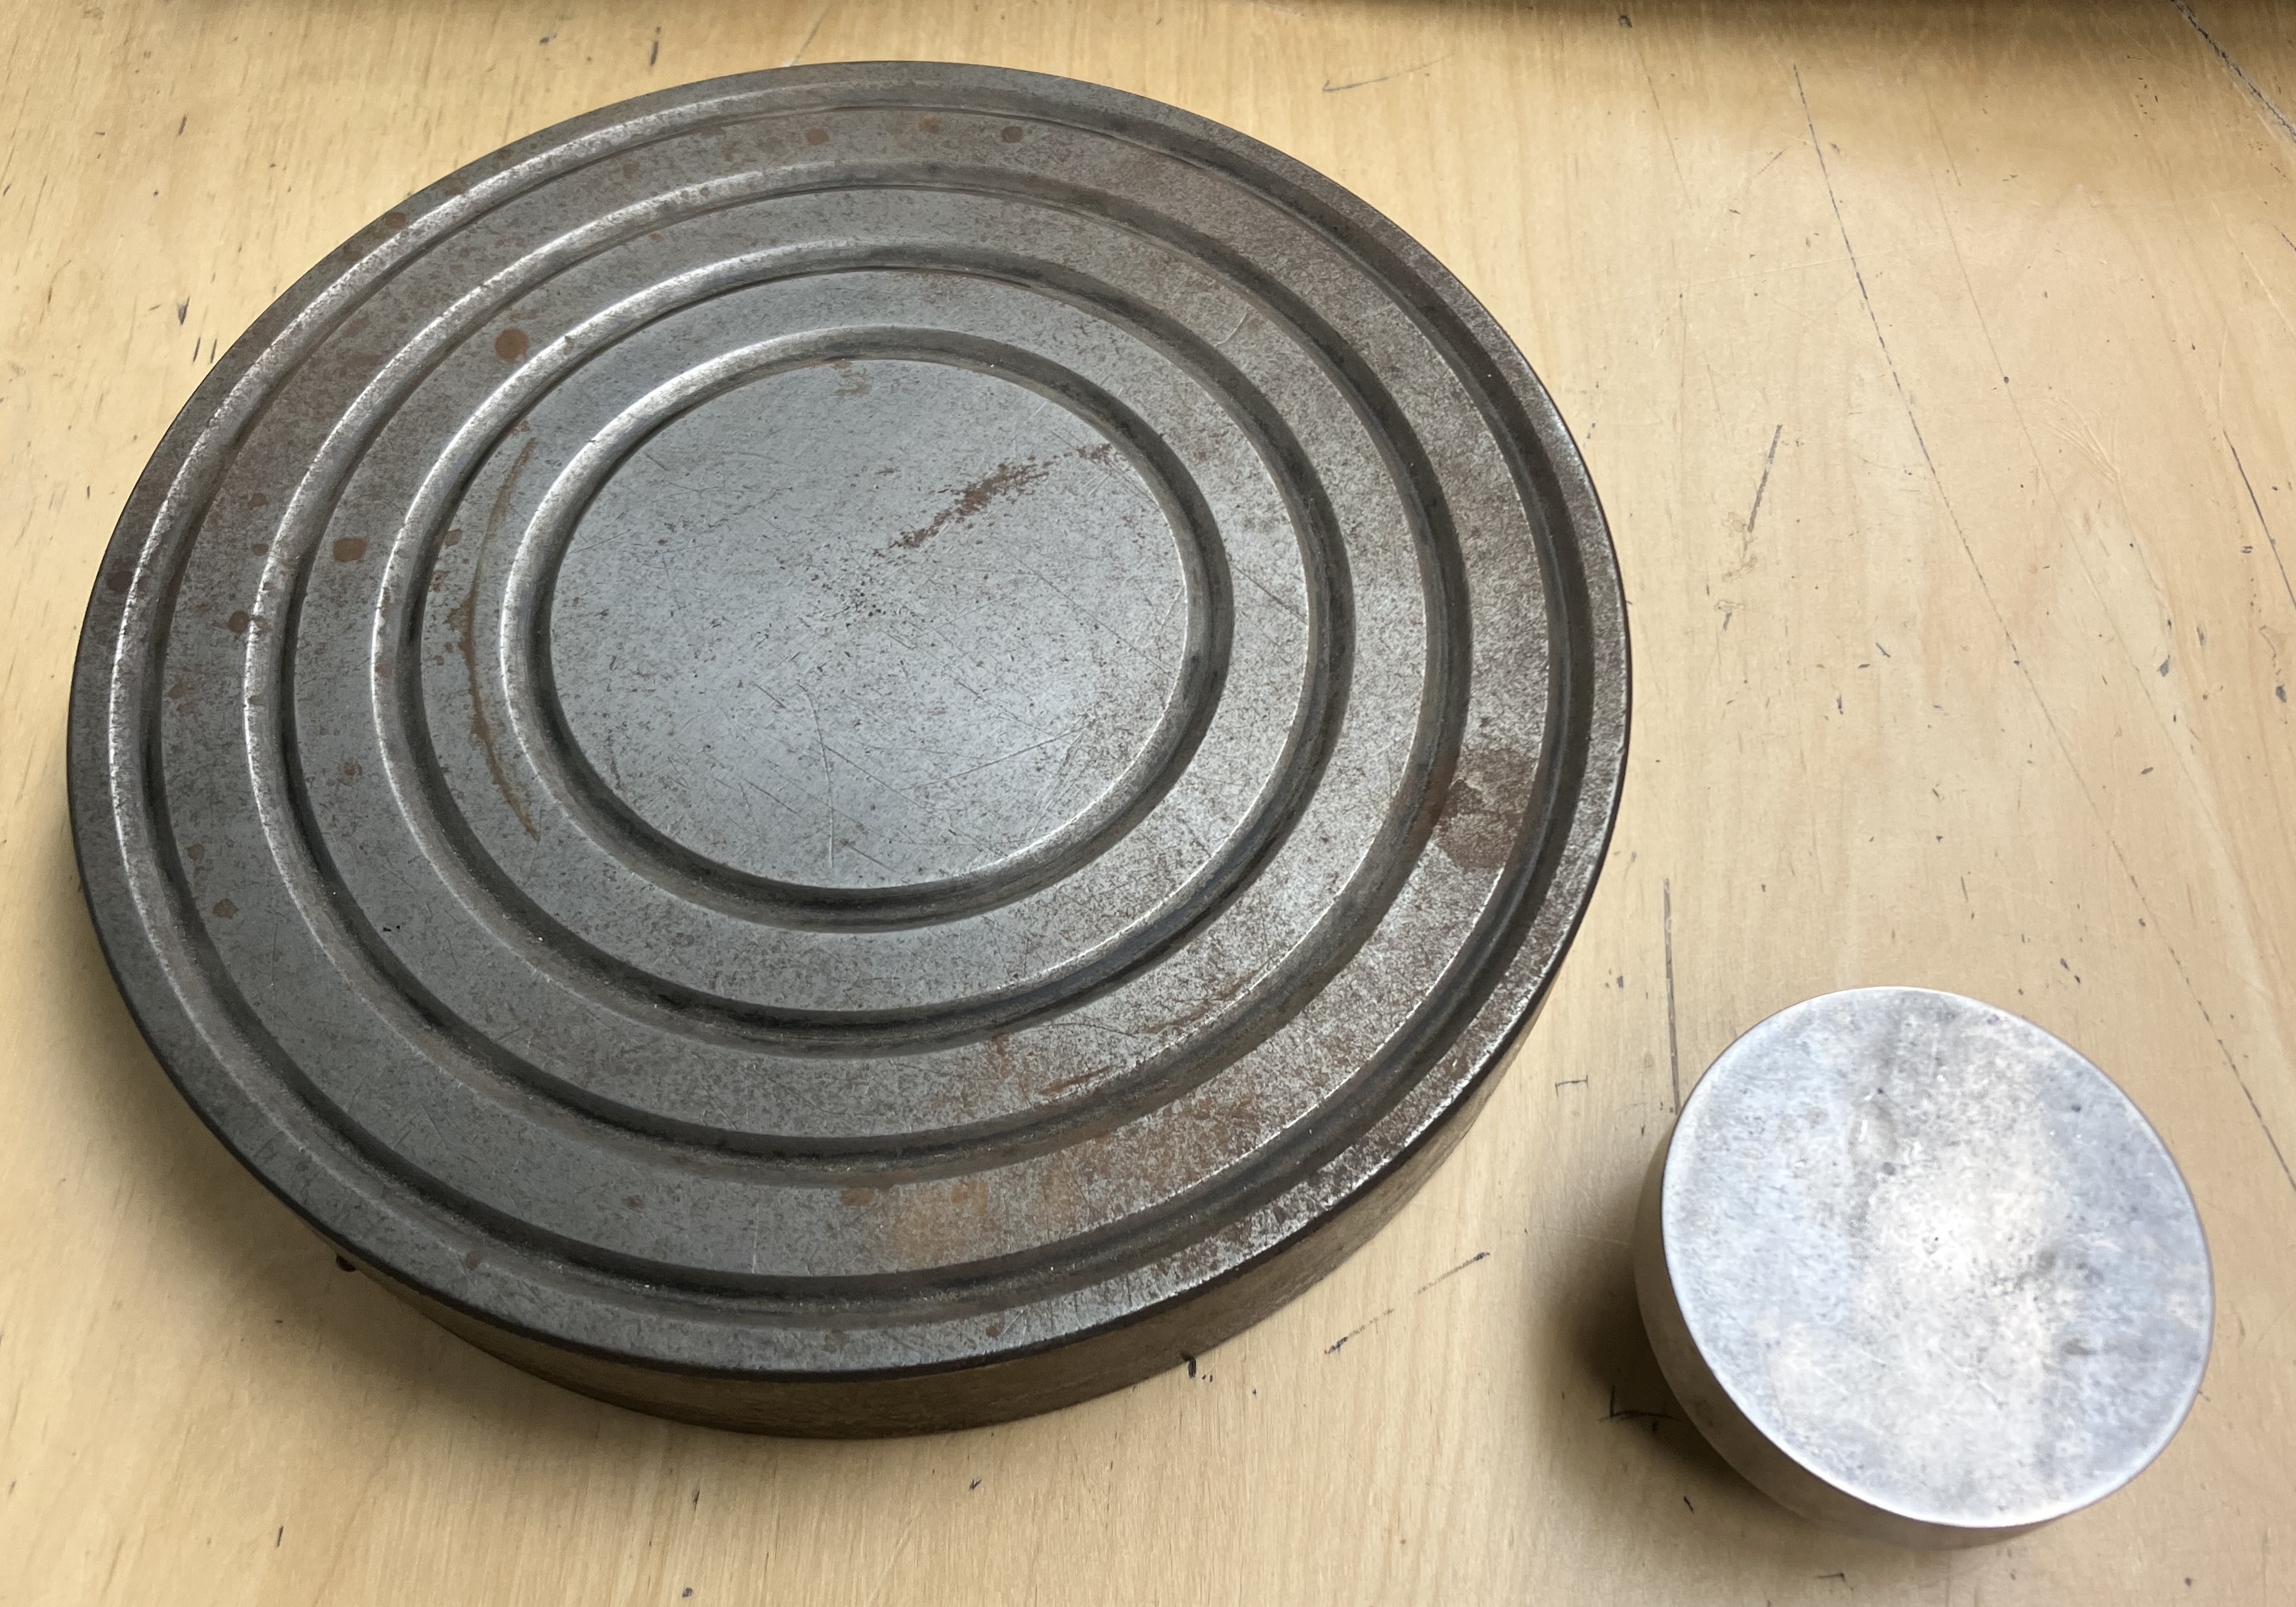
Choose an anvil that best supports the workpiece. At Protohaven, the small flat anvil is usually installed in the tester.
For round stock, select the appropriate v-anvil:
- Tiny v-anvil
- large v-anvil

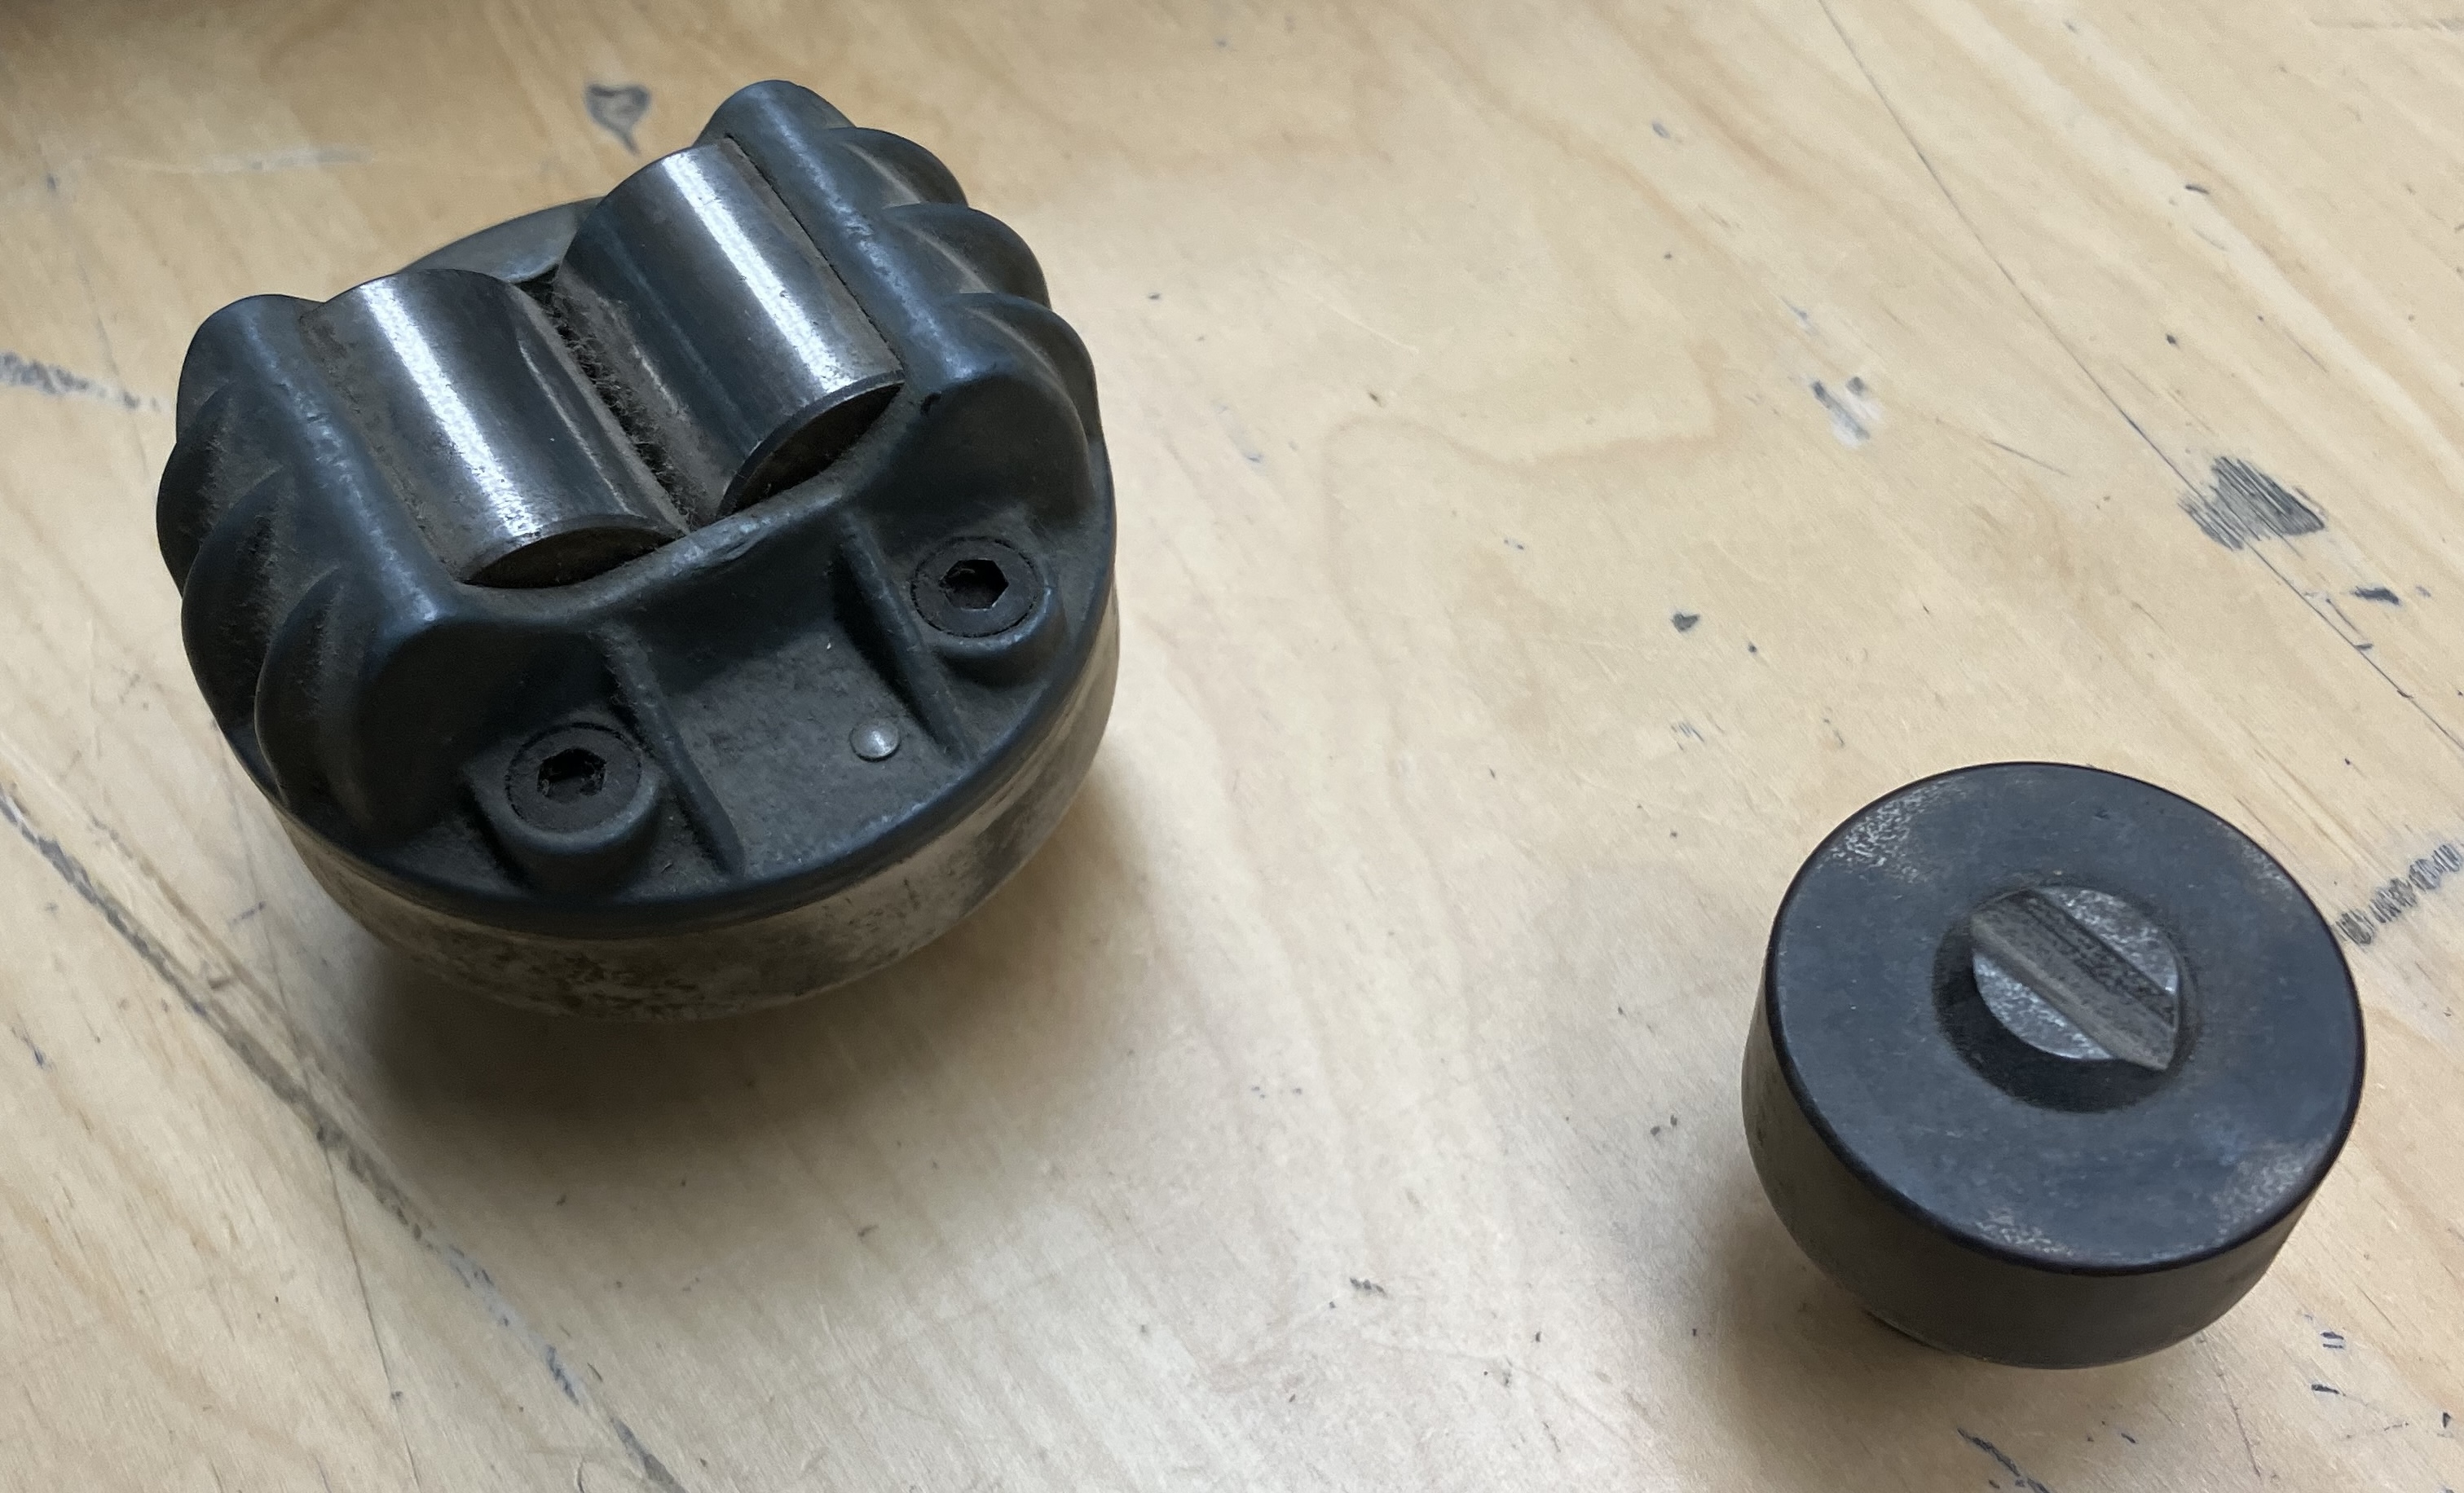
Choose an anvil that best supports the workpiece.
Do not clamp a workpiece to an anvil; the workpiece should rest solidly on the anvil by weight alone.
If the workpiece is so large an a dimension that it cannot rest completely on an anvil, use scrap wood as cribbing next to hardness tester to support the workpiece.
Do not use testing anvils.anvils to support workpieces. The testing anvils are special materials that are used in calibrating the tool. They should not be used as general purpose anvils.
Using the Tool
Cleaning Up
- Lower and remove the anvil.
Be careful not to crush the indentor by raising the anvil.
- Put away all other anvils, if necessary. anvils,
- Reset the machine to test HRC, if needed.
- Cover the tester.
- Make sure the area is clean.
🛠️ Rockwell Hardness Tester – Step-by-Step Guide (C Scale, 150 kg)
⚠️ Before You Begin
-
Make sure the tester is clean, level, and securely mounted.
-
Use safety glasses—small fragments can break off harder materials.
-
HRC scale is for hard metals like steel (not soft metals or plastics).
Anvils are kept down underneath:
- v anvils for round stock (large, tiny)
- flat anvils (large, small)
Do not use testing anvils.
🧰 Step 1: Prepare the Tester
-
Install the flat anvil.
-
Use the V-anvil only if testing round stock.
- When installing/removing anvils, be VERY careful to not contact the diamond tip.
-
-
The elevating screw may turn the opposite direction that you anticipate it to. Pay attention to the direction arrows.
Do not crush the indenter.
🧼 Step 2: Prepare the Test Piece
-
Surface must be:
-
Clean (free from oil, paint, rust).
-
Flat and smooth (no mill scale or burrs).
-
-
Material must be:
-
Thicker than 3 mm (1/8").
-
Wide enough to avoid testing too close to edges (≥2.5 mm from edge).
-
Spaced 3+ mm from other indentations.
-
- If material is longer or imbalanced, you may have to build a support structure to keep the material equally balanced on the anvil. This can be a stack of wood with a machinist jack, or anything else that helps achieve the height. Do not use dirty/crumbly objects, such as bricks or cinder blocks. Be very careful with the granite surface.
⚙️ Step 3: Load the Sample
-
Place your part flat on the anvil.
-
Turn the elevating screw handle slowly to raise the anvil and part until it just contacts the indenter.
🕹️ Step 4: Apply Minor Load (10 kg)
-
Keep turning the elevating screw slowly until:
-
The small needle reaches the preload mark. This is straight up.
-
The long pointer settles near vertical (±5 divisions).
-
-
Wait 2–3 seconds for the load to stabilize.
🎯 Step 5: Zero the Dial
-
Rotate the outer dial bezel so the long pointer aligns exactly with “0” on the outer (black) scale.
-
This is your reference for the HRC reading.
-
🧱 Step 6: Apply Major Load (150 kg)
-
Slowly push the load lever back to apply the major load.
-
Wait for the needle to stop moving. Dwell for 5 seconds to allow the indentation to form fully.
🧾 Step 7: Remove Major Load
-
Slowly release the load lever to return to the minor load (10 kg remains) by pulling forward on the lever.
-
Do not touch the elevating screw yet.
📏 Step 8: Read the Hardness Value
-
Read the number the long pointer is pointing to on the outer black scale.
-
That’s your HRC value.
-
There are charts in the vicinity of the hardness tester to help interpret the results.
⬇️ Step 9: Remove the Part
-
Turn the elevating screw to lower the anvil and remove your part.
-
Avoid testing too close to the same spot again.
✅ Step 10: Repeat or Shut Down
-
For multiple tests:
-
Move to a new clean spot on the part.
-
Repeat from Step 3.
-
-
When finished:
-
Lower and remove the anvil.
-
Cover the tester.
- Make sure the area is clean.
-