
Sandblaster Tool Tutorial
Protohaven
Sandblaster
SkatblastUSA 1536 Champion Abrasive Blasting Cabinet
Tool Tutorial
The Setup, Operation, and Cleanup Checklists of this guide are what instructors use to ensure that you can use the equipment according to community expectations.
The sandblaster uses pressurized air to spray abrasive against your material inside a protective cabinet. This helps you to remove old coatings, surface corrosion and oxidation; prepare parts for painting or powder coating; or even etch patterns into your material.
Usage Highlights
Sandblaster Clearance or Class Equivalent Required Before Use
Personal Protective Equipment
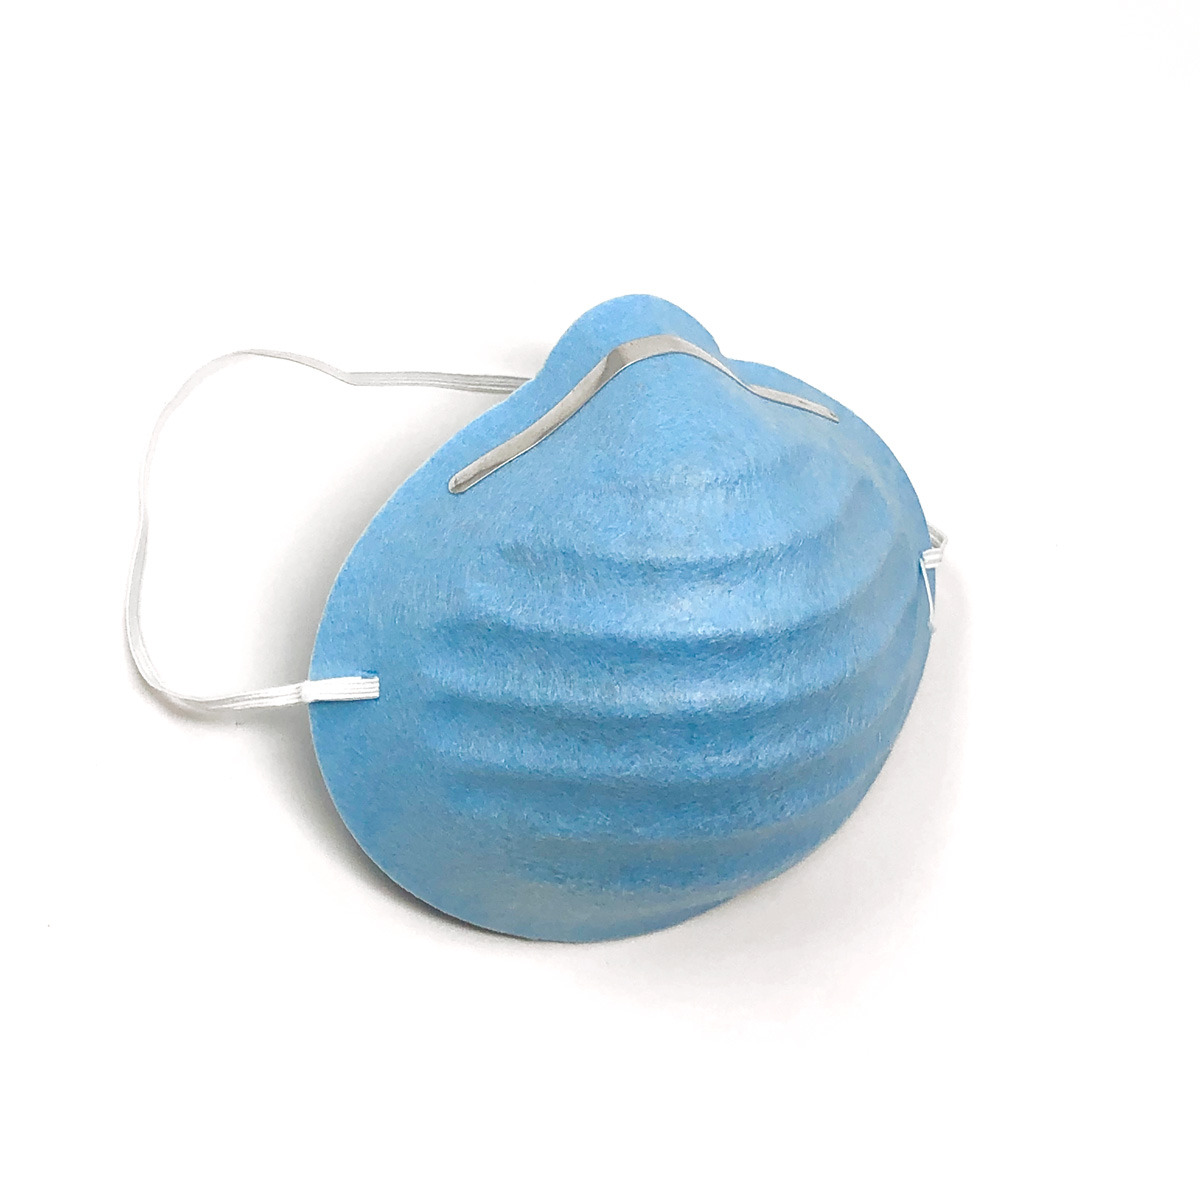
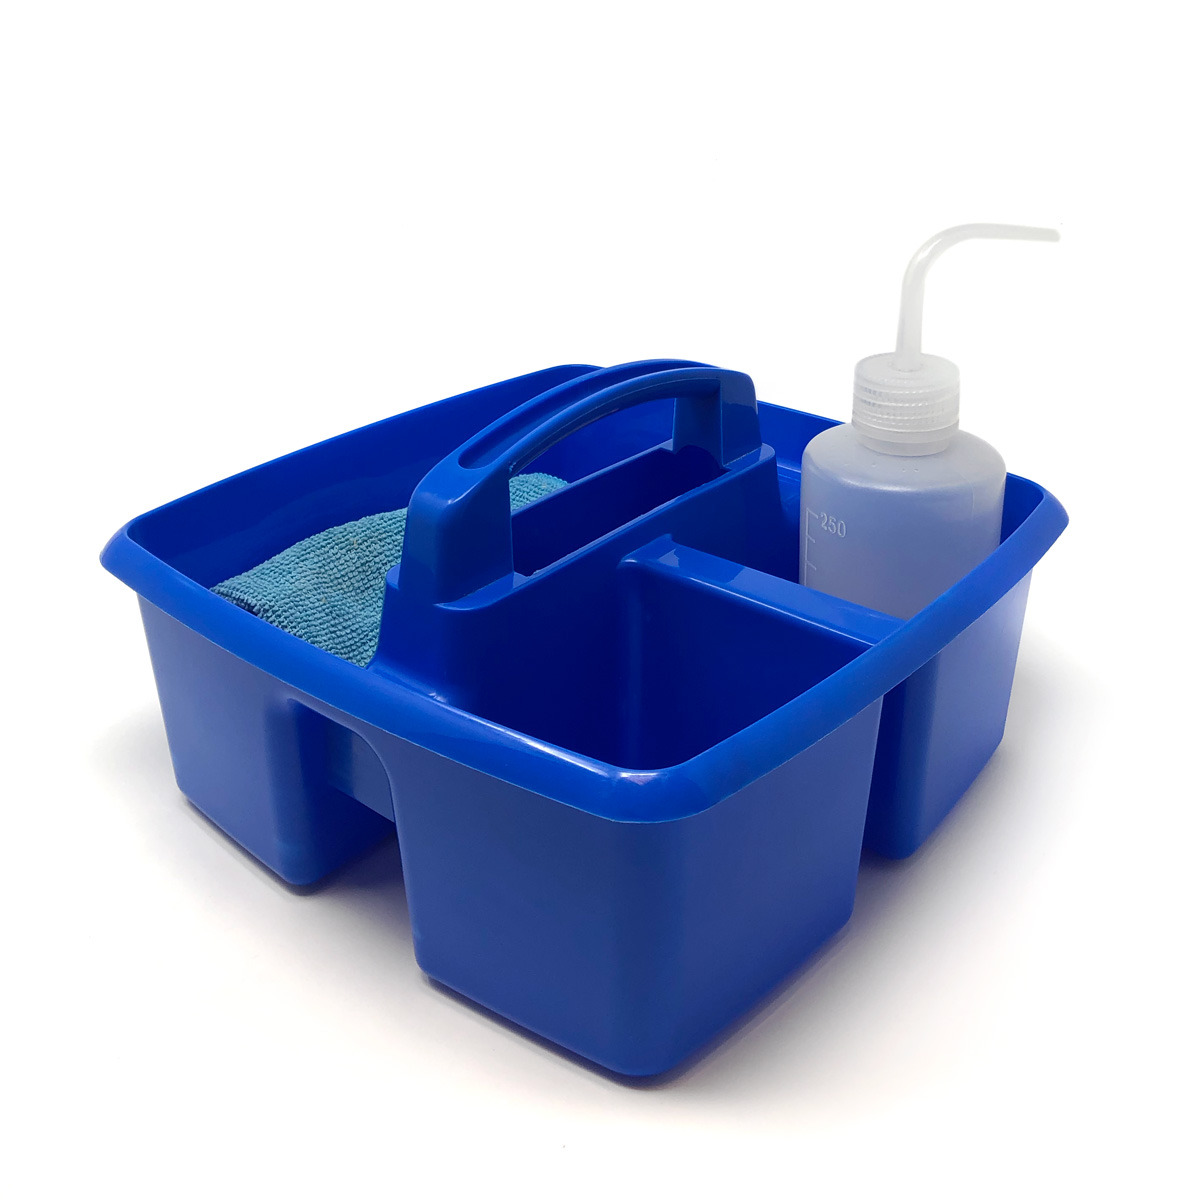
Face Masks & Cleaning Kits are required at all times during the Pandemic.
While using the Sandblaster, safety goggles and a dust mask are also required. A respirator with replaceable cartridges, particle filter mask, or vapor mask is recommended, but a nuisance dust mask is sufficient for shorter tasks.
Closed-toed shoes (preferably boots) are required in the workshop.
Disposable gloves, although not required, may be used inside the gauntlets that are permanently affixed to the sandblaster.
Tool Anatomy
MACHINE ANATOMY
-
Power Switch - on/off switch
-
E-Stop - Reserved for emergencies. To deactivate and reset, you must twist the spring-loaded knob.
-
Maintenance Tag - Manually tracks the usability status with Green/Yellow/Red cards
-
Viewport and protective film - allows the user to see what they’re doing. The replaceable protective film helps preserve the viewport from abrasive damage.
-
Access Doors and Latches - allow access to the interior of the cabinet
-
Siphon hose - pulls media from the hopper to the gun
-
Air Hose - provides air pressure to the sandblaster
-
Blasting gun - directs the stream of abrasive
-
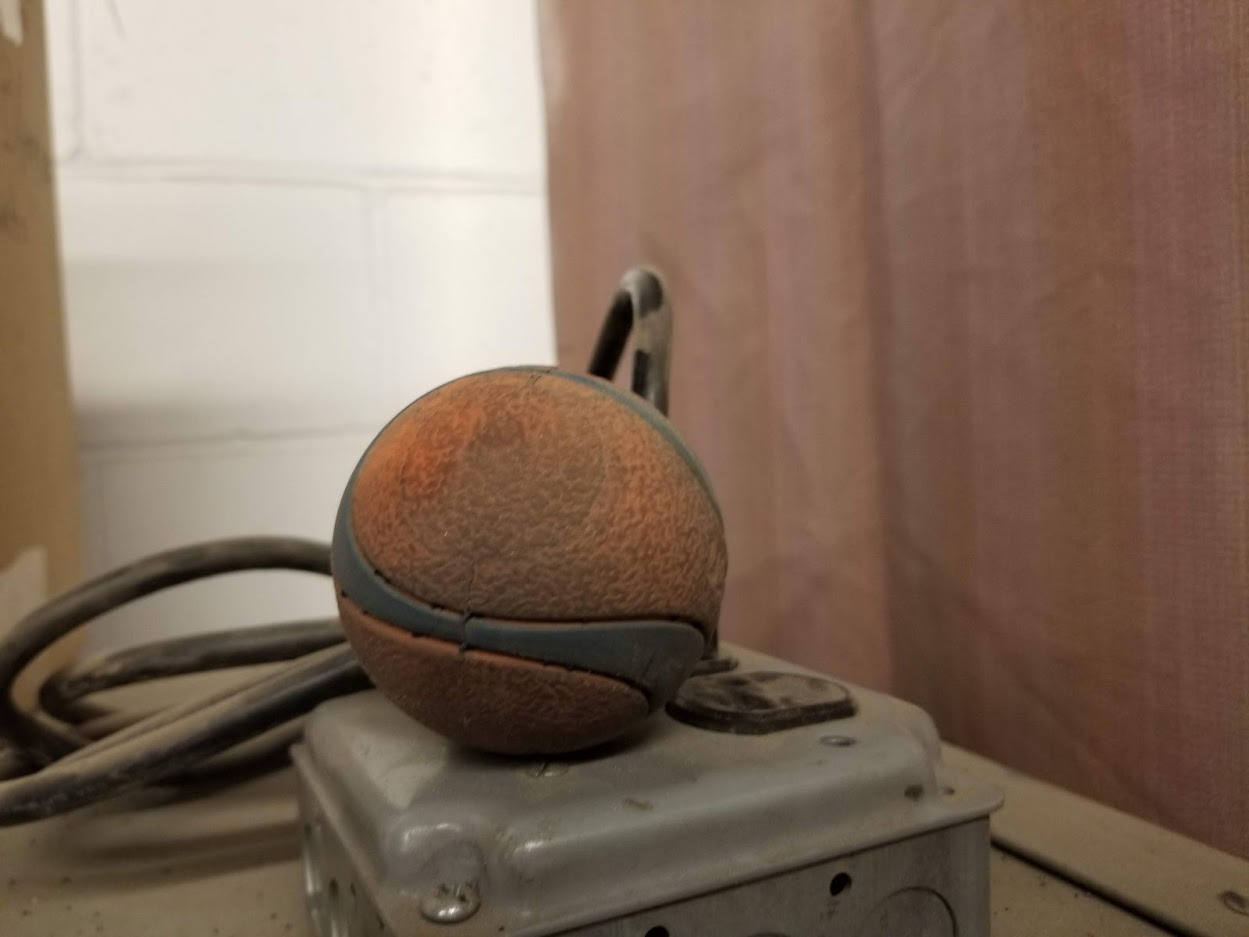
Foot Pedal - must be pressed for blasting to occur
-
Screen Filter- filters debris as material is removed
-
Media hopper - holds the abrasive media underneath the cabinet
-
Trap Door - Easy opening door for quick-access change of abrasive
-
Gauntlet Gloves - permanently affixed heavy gloves that allow the user to manipulate items inside the cabinet with the doors closed.
-
Dust Collector - keeps (most of) the dust generated by the sandblasting process from escaping into the vicinity of the sandblaster
Tool Safety
COMMON HAZARDS
DUST
The dust produced by the sandblaster is hazardous for your respiration
-
Always ensure the access doors are properly latched before sandblasting
-
Ensure your PPE is appropriate and properly rated for respiratory protection
-
Always wear a respirator when adding/removing abrasive media
-
Keep others safe by vacuuming any built-up dust on or around the cabinet—especially after changing out the media
ABRASIVE DAMAGE
Anything inside the cabinet can be damaged by the abrasive.
-
Do not point the gun at the viewport
-
Do not allow the abrasive blast to touch or abrade the gauntlets
PROHIBITED MATERIALS
WET, OILY, OR GRIMY MATERIALS
Wet or oily materials should not be used in the sandblaster, as it will cause the abrasive to gum up and become useless very quickly. The pool of abrasive can also be worn down with excess debris.
To avoid this, always remember to do the following before blasting:
-
Ensure the material is clear of oil and moisture
-
Remove dirt or any loose material from the surface by hand
RESILIENT MATERIALS
Resilient materials (e.g. items dipped in vinyl, or covered in soft paint or powder coat, etc.), while not prohibited, will not respond well to the abrasive flow, as the particles will tend to bounce off rather than remove the material.
It is strongly recommended that you remove as much of such materials as possible through chemical or manual means, then use the sandblaster to finish up removal in tight crevices and similar.
Initial Setup
CONSUMABLES
Basic Operation
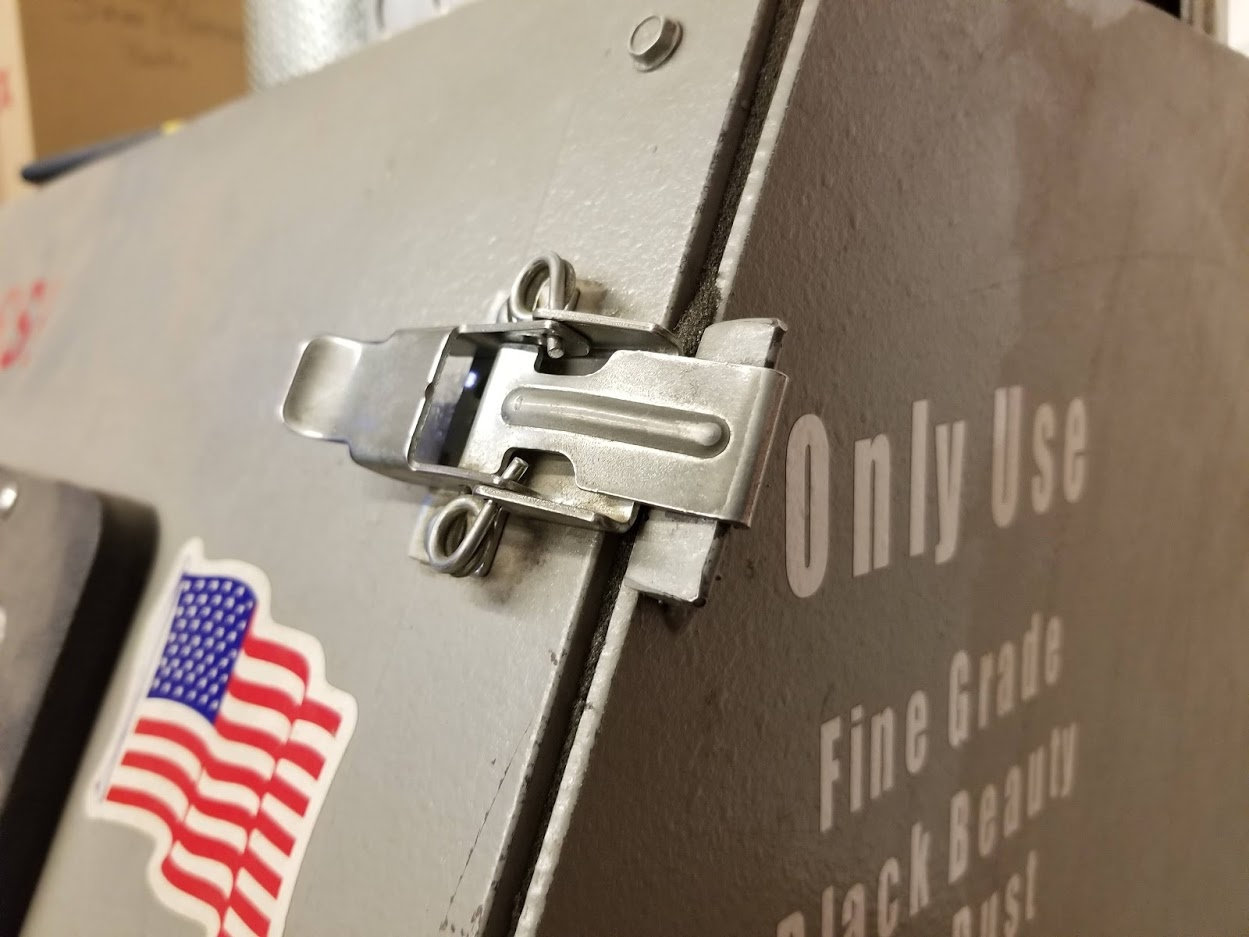
Before operation, always ensure both latches are firmly secured.
HOW IT WORKS

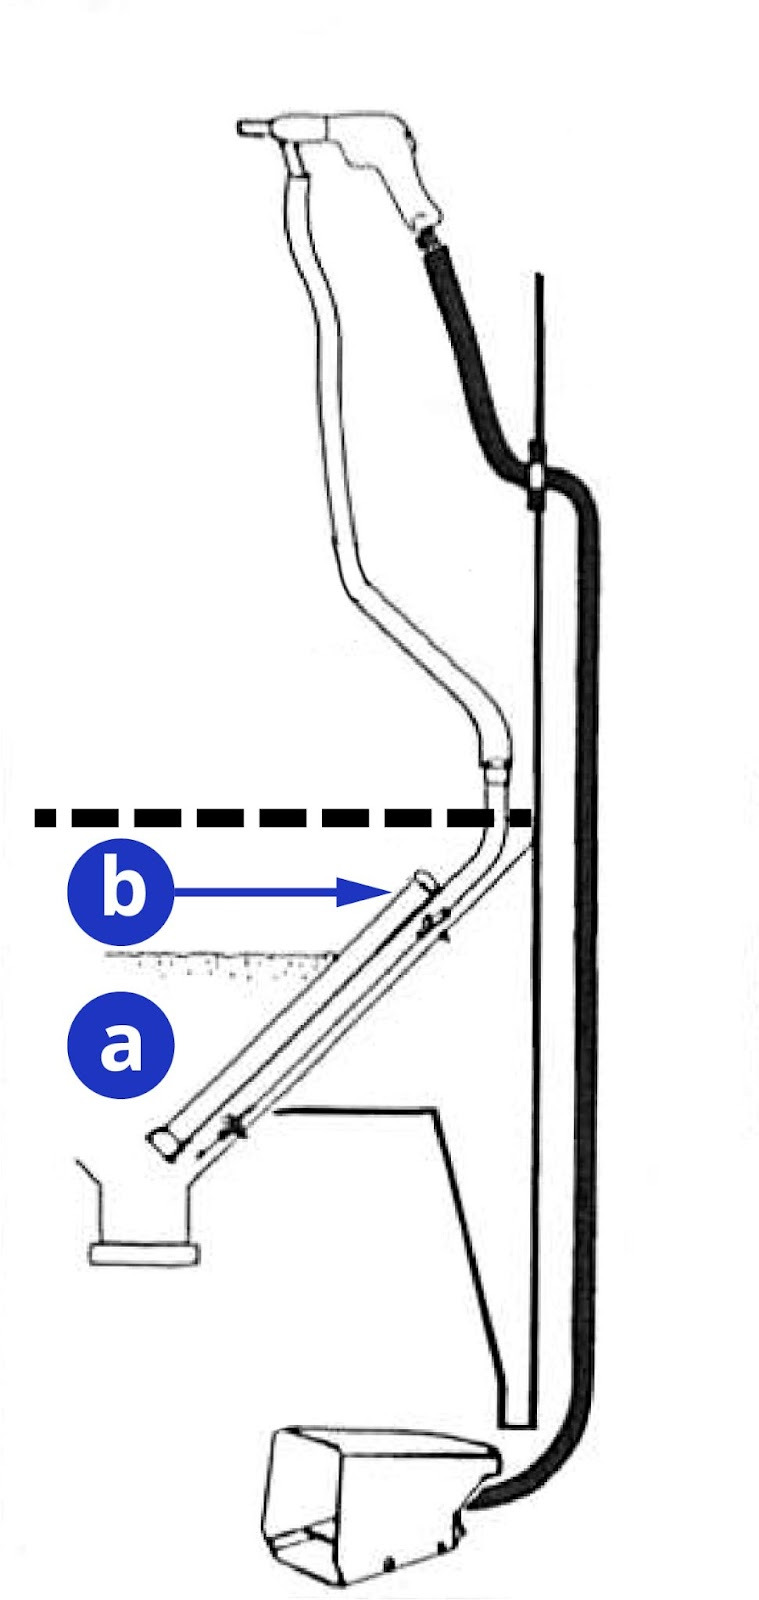
(1) Air from the compressor goes through (2) foot pedal control to (3) power gun. When pedal is pressed, air blows through the power gun, pulling makeup air into (4) pickup tube through (5) power zone, picking up abrasive through (6) gun venturi and out (7) nozzle.
Blast hits object. Most abrasive drops to (8) bottom for recycling. Dust is pulled out (9) vac hose outlet and into (10) vacuum container. (11) Lighter particles stick to (12) internal filter cartridge and clean air exhausts through (13) vac motor and into (14) optional Final Filter.
WORKHOLDING
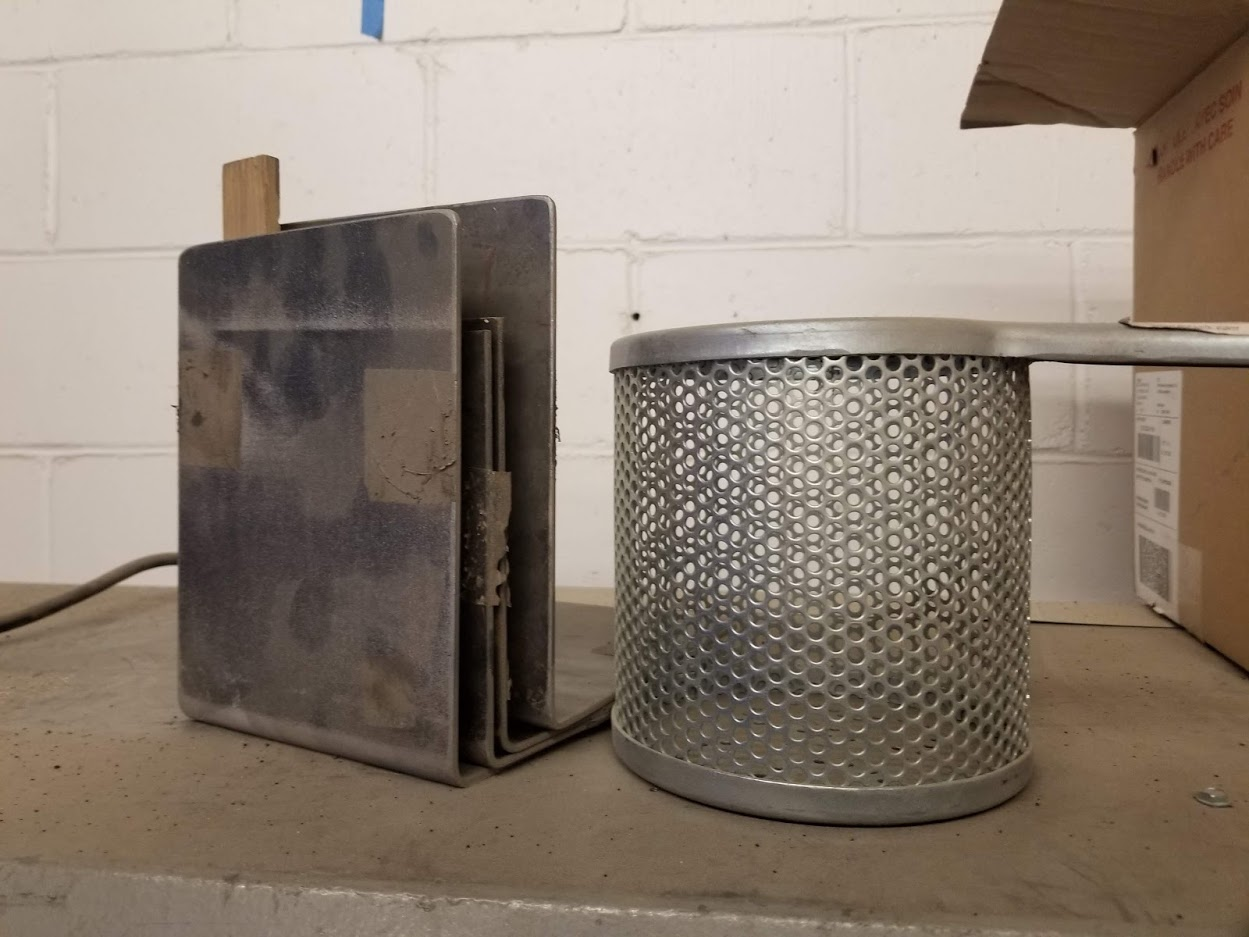
Small parts must be safely secured, lest they take wing and fly about the interior. Use of scrap wood, clamps, baskets, or strong magnets may be required; just be sure to use clean, dry, and oil-free materials such as metal or wood (which you don’t mind having abraded).
Larger parts can be held in the gauntlet not holding the gun (so long as there is clearance to avoid affecting the gauntlet with the abrasive), or allowed to rest in the cabinet under their own weight.
BACK-PURGING
Cleanup
MAINTENANCE REQUESTS
Update the physical Maintenance Tag at the machineGreencan be used without issueYellowcan be used with cautionRedcannot be used without hazard to either the user or the equipmentRecord issues atprotohaven.org/maintenance. This notifies our staff and volunteer maintenance crew of any issues
Troubleshooting
Special Setups
RESISTS
For etching materials such as glass, or protecting some portions of a part from being abraded, you may wish to use some form of resist...extra material used as a type of stencil to shield those surfaces you wish to protect.
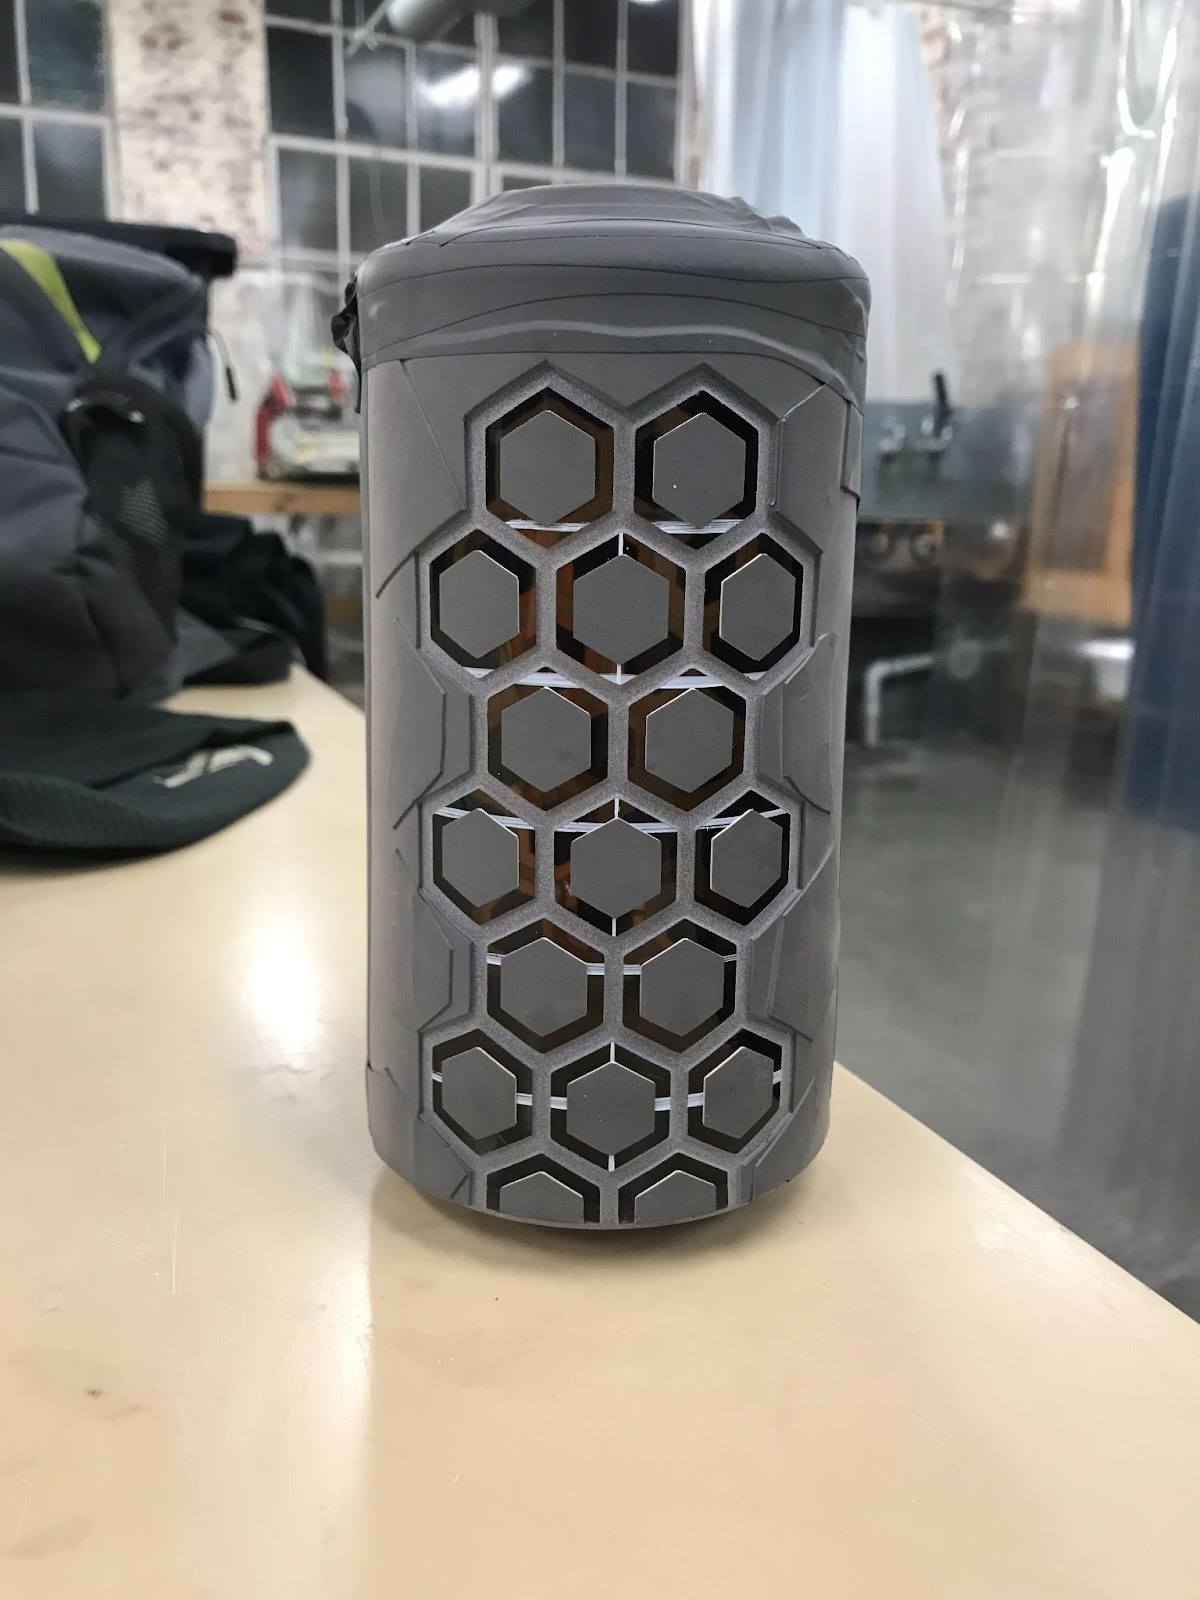
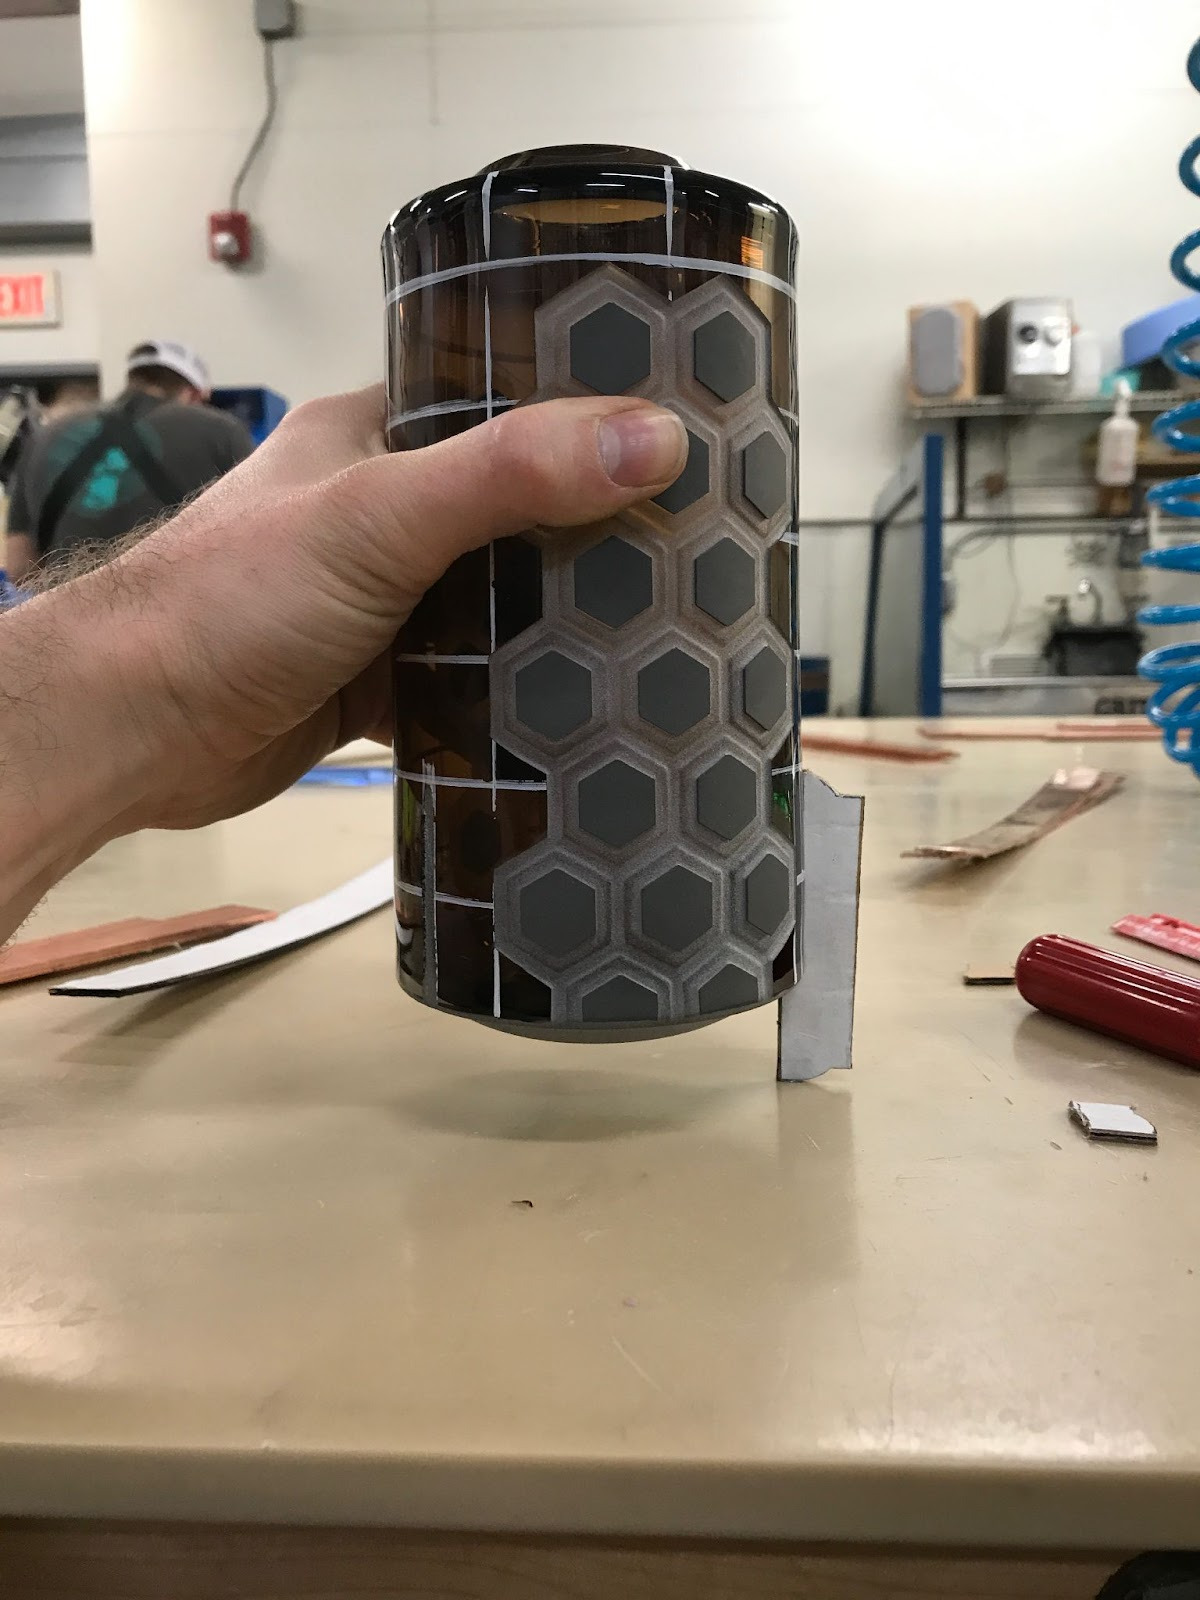
Resists can be made of various materials...almost anything that is not easily abraded and can be securely fastened to the part will work.
For example, you could use the Vinyl Cutter to produce a resist that you could adhere to a glass bottle; after blasting the glass, peel the vinyl resist away, to reveal a clear pattern in the frosted glass.
OVERSIZED PARTS
If you wish to blast parts that are physically too long to fit into the cabinet with the doors closed, it is possible to construct a temporary extension out of materials such as duct tape and heavy cardboard, which you can fasten to the end of the cabinet with the door open.
Consult with a staff member before doing so, so that they can verify the safety, dust resistance, and structural integrity of the extension.
Additional Resources
Manufacturer’s website and FAQ
SUPPLY RESOURCES
Local Vinyl Supplier
Buttercut Resist ($$$)
Highly resilient, rubber sandblast masking used for creating stencils that can be sandblasted. Can be cut by hand or with a Vinyl Cutter.
Photo Resist Film ($$$)
An advanced photo-imageable film alternative to hand-cut and plotter-cut vinyl. Allows for a finer image quality without the hassle of weeding.
Staff-Use
AUTHORIZED MAINTENANCE CREW ONLY
If you are part of the maintenance group please log on to the #maintenance channel of our Discord server to:
Perform a Maintenance ActionRequest a Maintenance PurchaseReview complete Maintenance Logs for each machineGenerally chit-chat about maintenance